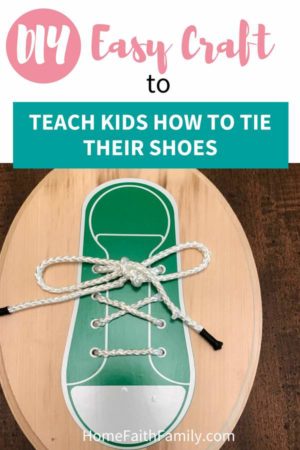
Are you teaching your children how to tie shoes with little success? Then you’re going to love this simple DIY craft that will make learning and teaching how to tie shoes for kids fun and easy! Keep reading to make this craft and grab the svg file.
My children are getting old enough to start learning how to tie their shoes.
When I asked my husband for a piece of cardboard and explained my idea to loop a few shoe strings together so we can start teaching the children (that’s how I learned), he asked me to wait a little bit.
I am so glad I listened to my husband because he generously came up with this design that we want to share with you!
This post contains affiliate links at no cost to you. Thank you for your support. If you have any questions, please read my disclosure policy here.
One of the things I love the most about this design is the cute converses look. When we gave our children each of their shoes, they wouldn’t put them down.
If your child is struggling to learn how to tie their shoes, or if you’re looking for a creative way to teach them how to tie their shoes, then you’re going to love this craft. And I’ll walk you through step-by-step how to set everything up so your shoes looking amazing!
Easily Learn How To Tie Shoes With This Simple DIY Craft
Supplies Needed For Cricut Craft
- 9/12 oval wood plaque
- White cardstock (any color will work. You will be using this as a template).
- Painter’s Tape
- 3/16 nylon braided rope, 3 1/2 feet
- White vinyl
- Green vinyl (or another color of your choice).
- Transfer Tape
- 5/16 heat shrink tubing (we used black, but you can find this in other colors), 3/4-inch length x 2.
Instructions For Shoes
The first thing you’ll want to do is grab the SVG for this project. You can do so here.
You’ll first want to upload the SVG file into Design Space.
Once the file is open, click on the top “SHOE” tab and select ungroup. Then click on the “white pieces of the shoe tab” and select “attach.”
It’s very important that the white pieces of the converse shoes are “attached” together in order to keep the shoe’s outline form. This will make your life 1,000 times easier for this craft.
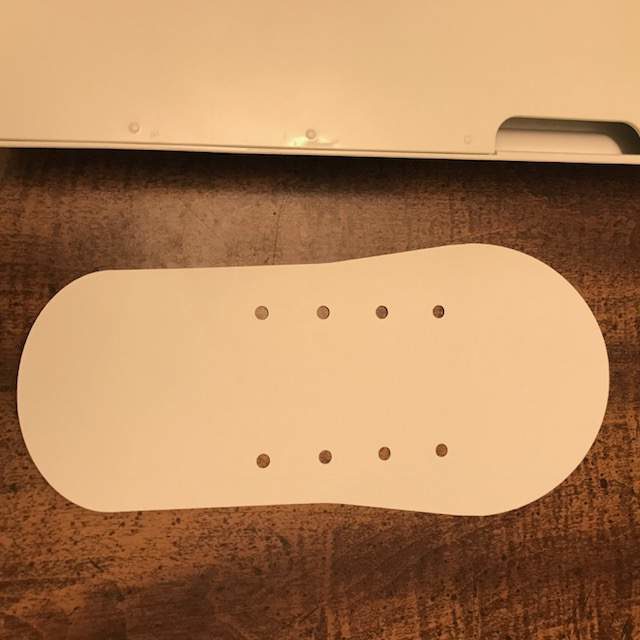
Select the larger shoe piece in Design Space and have your machine cut out one piece of white cardstock of the shoe outline.
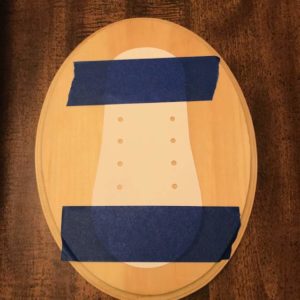
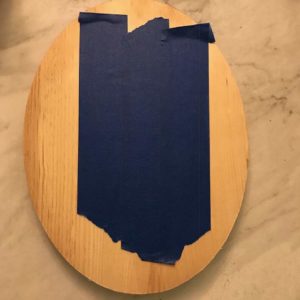
Place this on the top side of your oval board and secure firmly with painter’s tape. On the other side of the board, add three to five rows of painter’s tape.
Doing so is going to help you when you drill a hole into the wood. You’ll need to use your 3/16 drill bit size for the holes on the shoes.
This size will provide a secure fit for the rope when you lace the shoes.
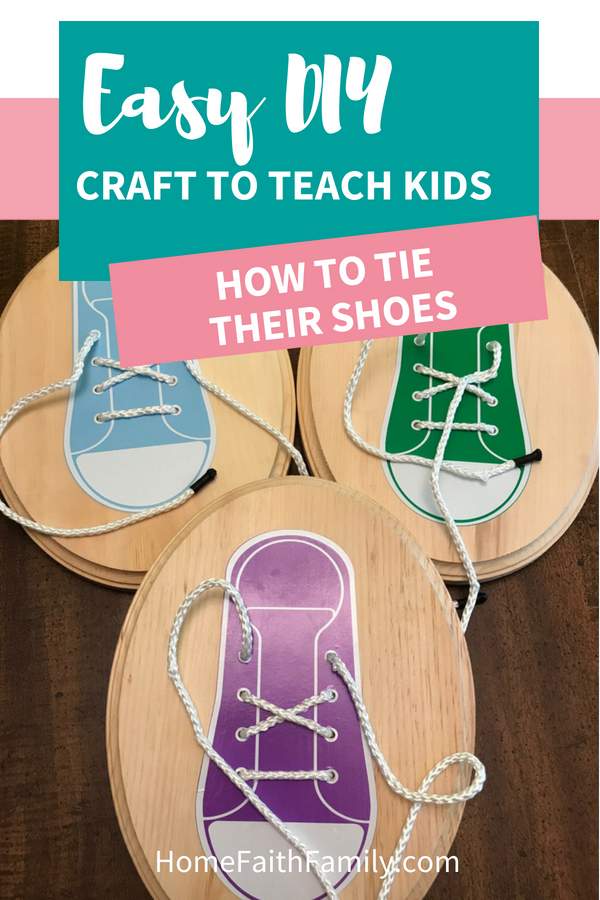
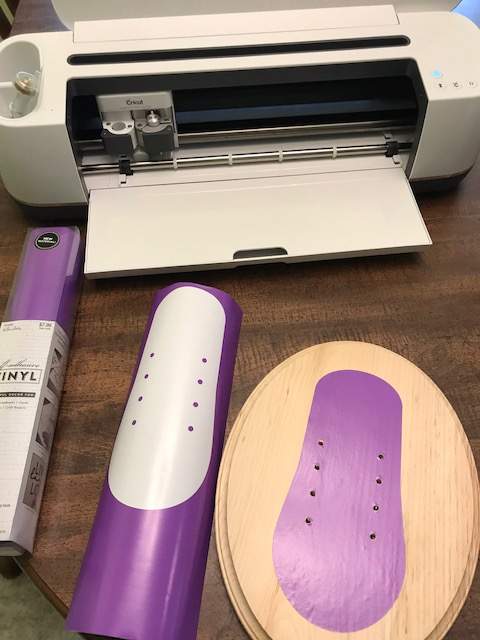
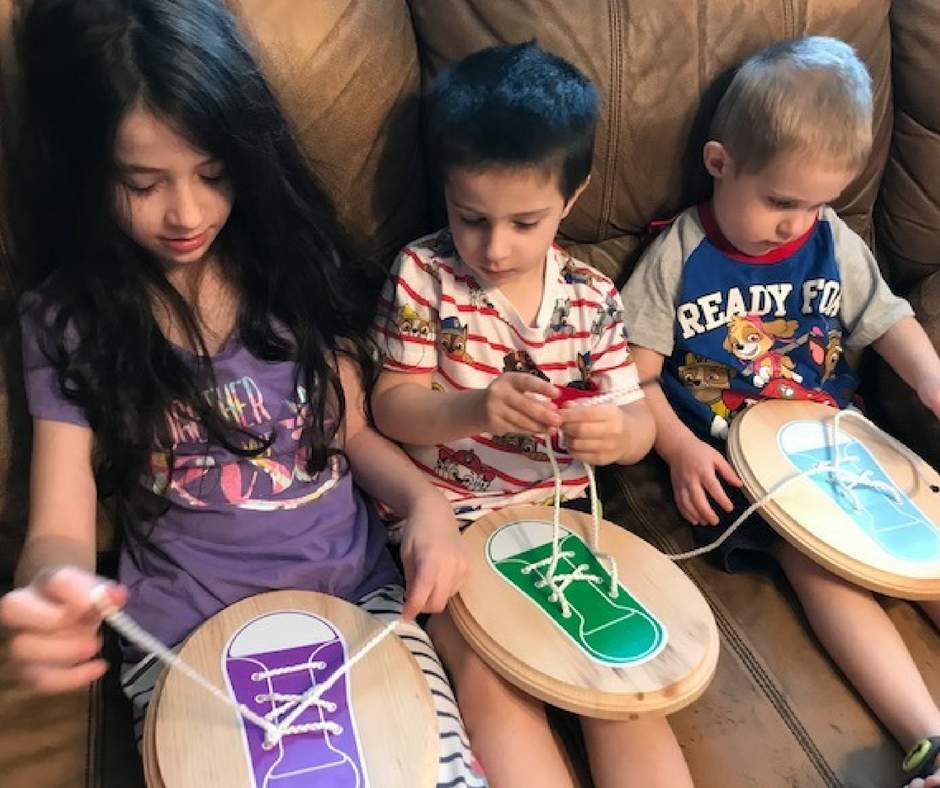
After the holes are inserted into the wood, you’ll make the shoes using a white vinyl and another color of your choosing. For our children, we did purple, green, and blue shoes.
Use your transfer tape willingly and generously. You’ll be glad you did!
The first thing you’ll want to secure is the base color. Remove the vinyl around the shoe so you can easily apply and remove the transfer tape.
Next, line up the holes with the shoe with the holes you drilled and lay the vinyl down.
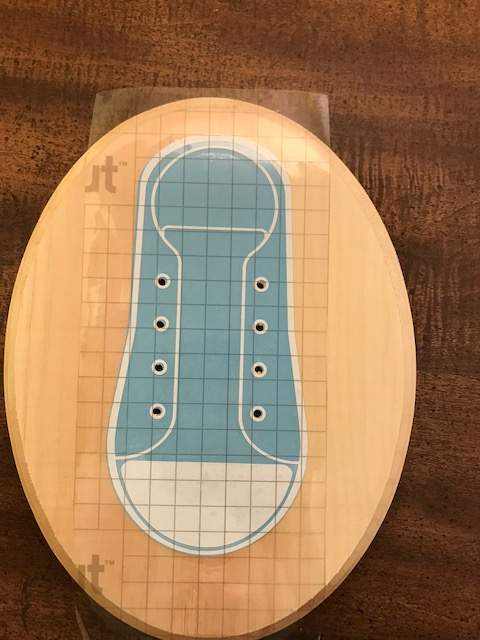
Repeat with the white vinyl and secure on your base color.
When you remove and apply the white vinyl, make sure you put some weight on the transfer tape when it’s laying on top of the white vinyl. This will allow your vinyl to stick to the tape easier, which will make for a cleaner transfer.
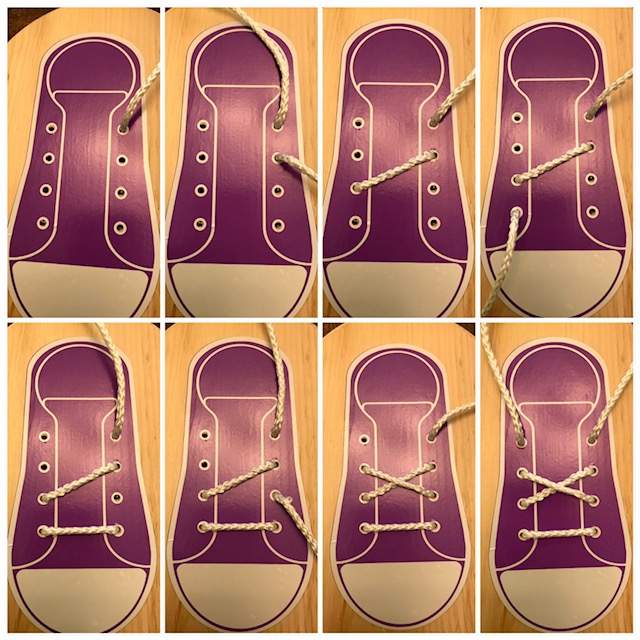
You’ll then want to cut 3 1/2 feet of nylon rope and follow the instructions below for lacing your shoes.
Something that helps me is securing the end of the rope with a piece of tape. This allows me to easily lace the rope through the small holes without too much difficulty.
If you’d like to secure the ends of your rope, then I highly recommend using 3/4-inch heat shrink tubing.
For us, this is perfect because the children can’t unlace the shoes and they provide a finishing touch to the end pieces.
If you don’t have an open flame for your heat shrink tubing, you can also use a hairdryer. Just make sure you distribute the heat evenly (instead of being in the same spot).
Once this is done your child will be learning how to tie their shoes in no time at all!
Is there a DIY craft you’d love to see that would make your life easier? Leave a comment below and let us know!

Micah Klug is a wife, homeschooling mother to five children, and author. She teaches time-tested solutions to help parents remember what matters most in life, including strengthening their home, faith, and family relationships. To learn how a child who grew up in an authoritarian home is now creating an environment of peace and joy in her own home visit this page. If you want to contact Micah, send her an email here or email [email protected].




This is absolutely adorable. Usually when we have to tie a childs shoe, It’s usally in a rush or they have no interest in stopping long enough to watch how its done. This is a great idea!
Lisa
Hi Lisa, I’m so glad you liked this craft! When my husband presented the idea I was a bit concerned that our children would use the boards as their new “whack-a-stick” but surprisingly (and thankfully) they haven’t! Have a great day, friend!
That is such a cute idea! Pinned.
Thank you so much, Joanne! Have a great day, friend.
This is such a smart idea and your kids are soooo cute! Thanks so much for sharing at Project Inspire{d}. Have an amazingly blessed week!
Awe, thank you Mary Beth! We think they’re cute too 😉
Have a blessed day as well, friend.
What an awesome idea! I tried creating something similar but used the cardboard and they didn’t hold up very well! My kids would love this.
I remember being taught using cardboard as well! How fun is that?! Thank you for your sweet compliment, I’m glad to know your children would love this. Have a great day, Bri.
Pingback: Wondering What you Can Make with the Cricut? 10 Cricut Projects Ideas! – The Best Vinyl Cutters
I signed up but it says there is an error and I can no longer get the svg
would you send it to me?
Hi Michelle, you can find all of our SVGs in our shop, here. Pease let me know if you have any other questions.