This Cricut tutorial is perfect for your next card project. Learn how to make a card using Design Space for your next Cricut project. This free guide is perfect for beginners and will show you, step-by-step, what you need to know.
This post contains affiliate links at no cost to you. Read my disclosure policy here.
I use to be one of those moms who wanted to do crafts and cute things for my kids but didn’t feel like I had a creative bone in my body.
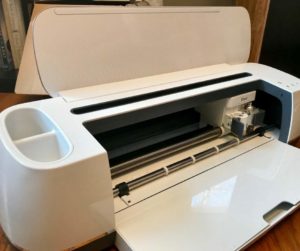
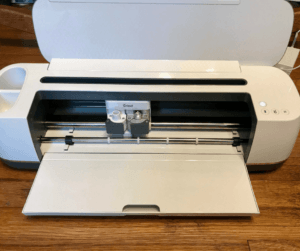
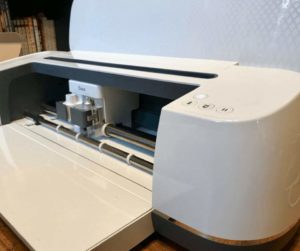
When my family surprised me with a Cricut Maker this past Christmas I’ve been learning everything I can about how to use this amazing machine.
(If you’re feeling a little overwhelmed with using your Cricut machine, you’ll definitely want to read these tips to eliminate your overwhelm and enjoy your new crafty bestie.)
The Cricut is designed to make your crafting life a lot easier, and if you know how to properly use this machine, you’ll actually look forward to crafting.
One of the basic crafts I quickly learned to make is my own card.
The first time I logged into Design Space I couldn’t find a blank card for the machine to cut out. I found a “card” section under the template category, but the machine wouldn’t cut this template out for me. (Even after I had designed my card).
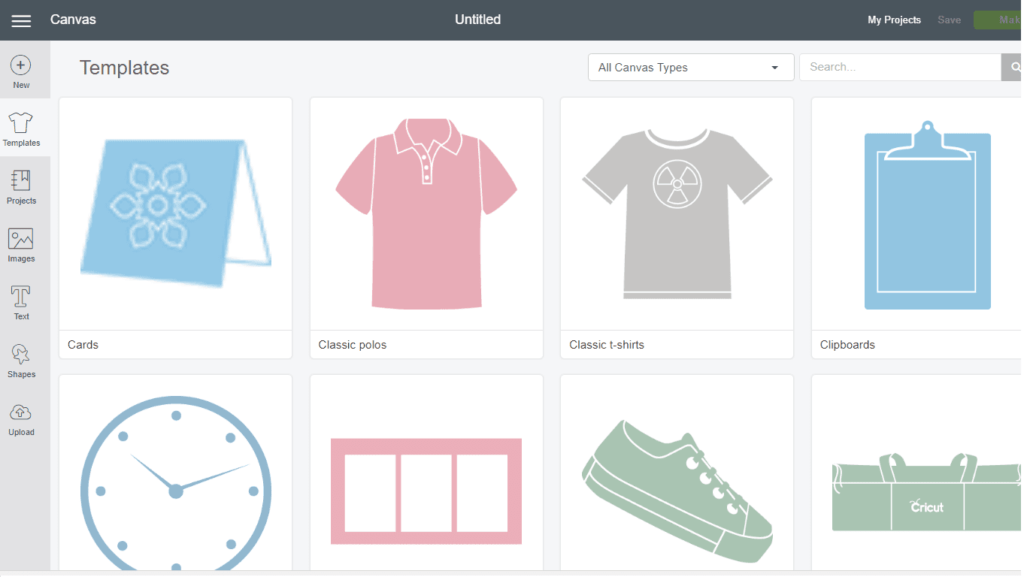
Truth be told, I was a bit frustrated, especially as someone who is completely new to Design Space and using the Cricut machine. (Currently, Cricut has no “rectangle” option in their “Shapes” category.)
Instead of being frustrated, I decided to make my own card. I knew I didn’t need anything fancy, just a simple rectangle I could use and fold.
How To Make A Card Using Design Space
I’m going to show you how you can design your own card (and save this file for future reference) using Design Space. I strongly encourage you to do this tutorial on your desktop computer, rather than your phone or tablet.
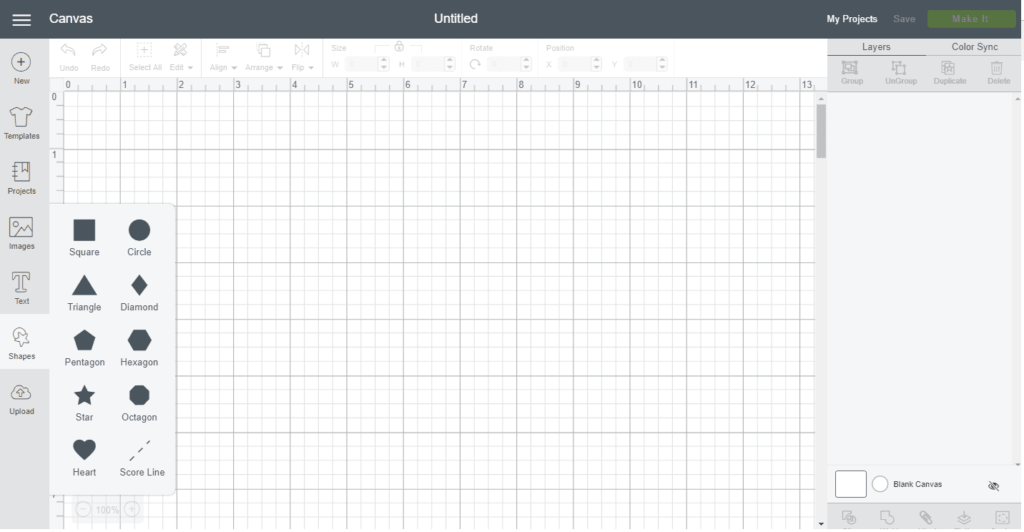
The first thing you’ll want to do is log into Design Space and find the “Shapes” category on the left-hand side of your screen and select “Score Line.”
You’ll want to make your first line and long as you’d like. I average about 5-inches (you can change the size and length later in your project. I will show you how towards the end of this tutorial).
Something that also helps me is to use the “zoom in” option. Currently, this is located on the bottom left-hand side of the screen and is very, very faint. You really have to highlight this option with your mouse in order for the zoom-in function to show up.
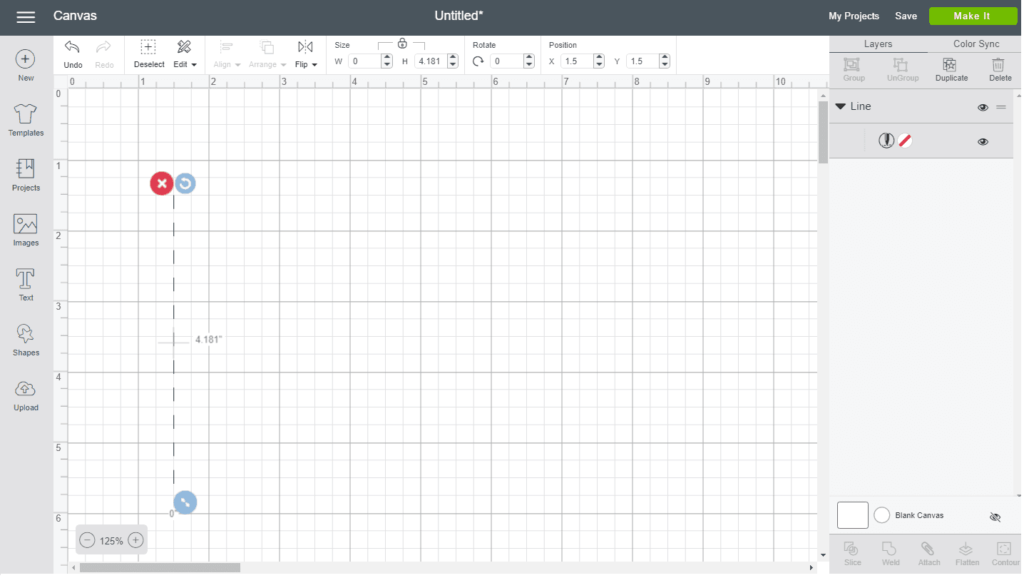
To make life easier on yourself, select your first line and “duplicate.” (You can easily duplicate your line by clicking on the line with the right-click of your mouse and select the “duplicate” option). Move your line so the two are parallel to each other.
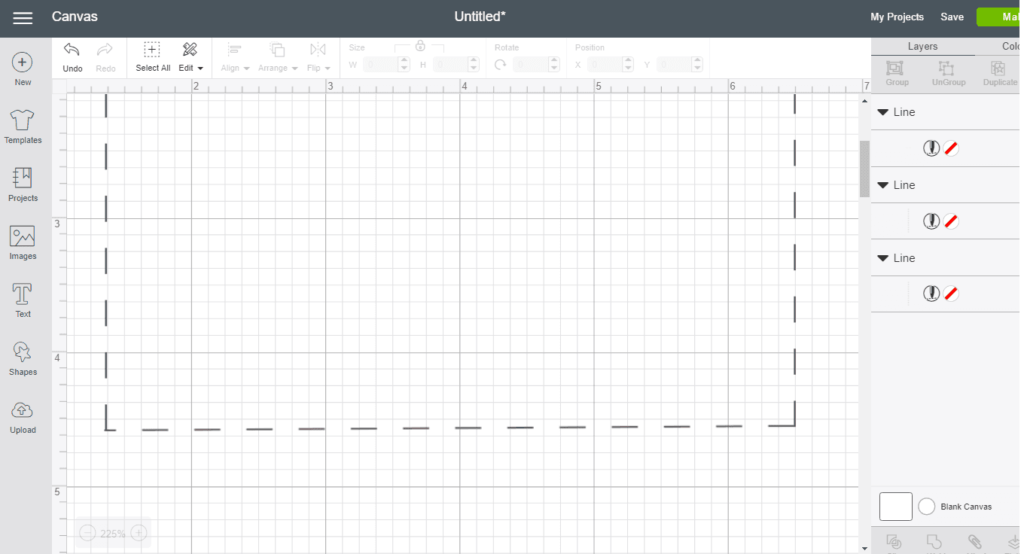
You’ll again want to duplicate a line (now you have three lines) and rotate this third line so you can connect the two parallel lines together. You will want to really zoom-in on your lines so you can confirm the tips are touching and making proper corners with each other.
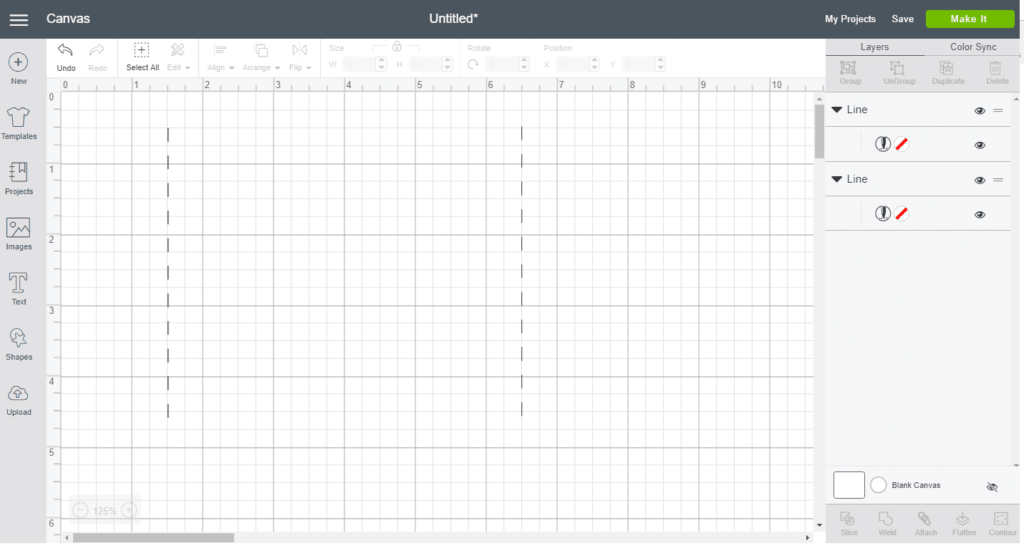
The image above is my connected lines with a zoom-in of 225%.
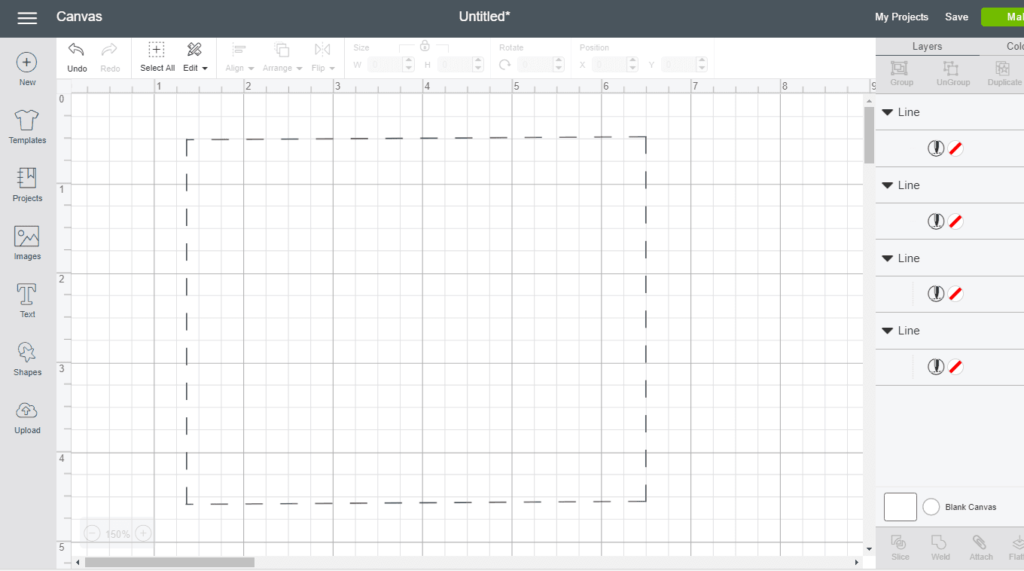
Duplicate the new line and add this line’s twin to the top of your card, making a complete rectangle.
Don’t be shy about zooming in and confirming the corners are touching each other (this is really important).
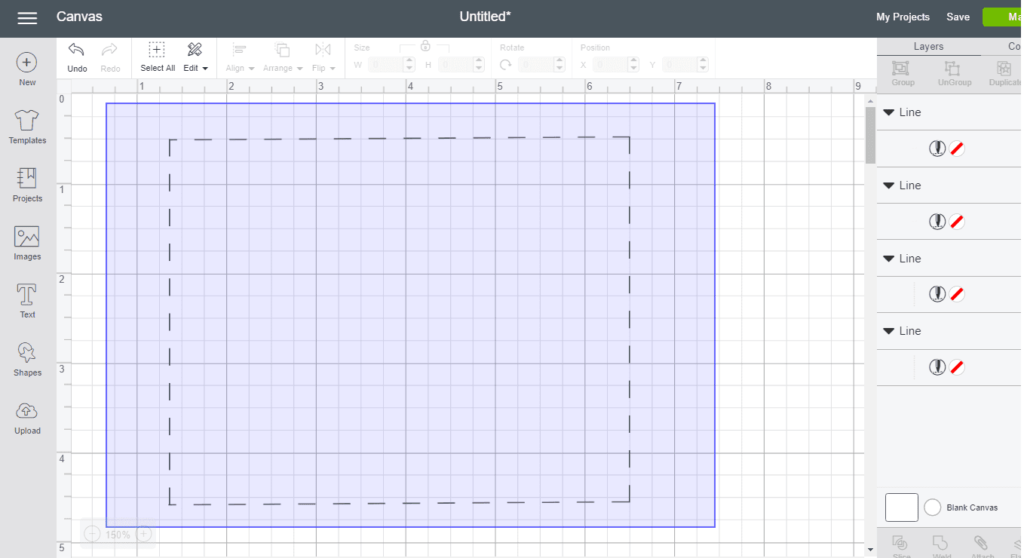
You’ll now want to highlight your card by dragging your mouse outside of your four lines to capture everything. Select “Group” (top right-hand corner) to make sure none of these lines will be leaving each other.
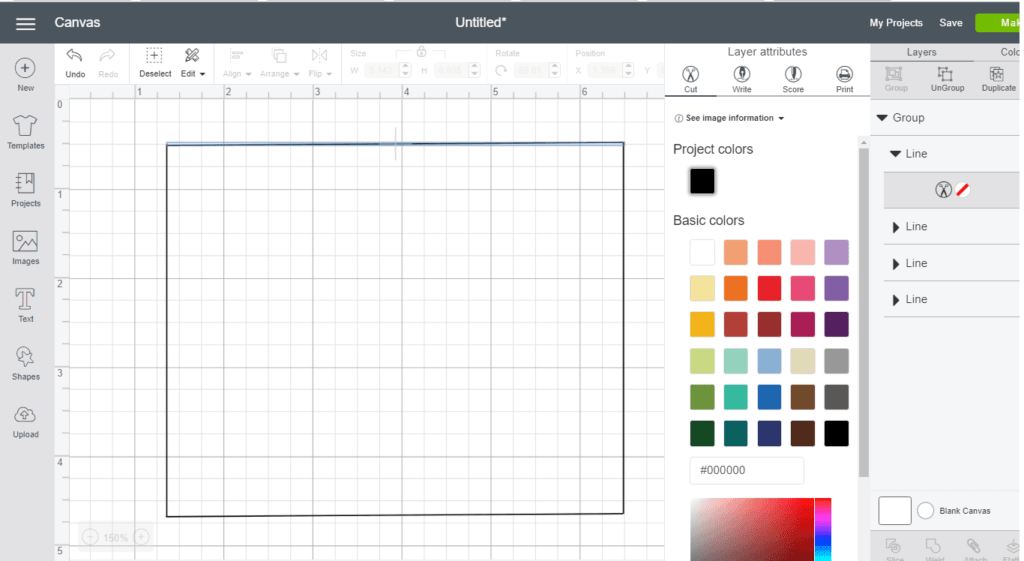
Currently, our lines are set to the “score” option in Design Space (which, we don’t want). You’ll want to click on the little pen looking icon and change each line from “score” to “cut.”
Your lines will change from dotted to a straight-line. I always found changing this setting last to be easiest so I can first focus on the project itself at-hand.
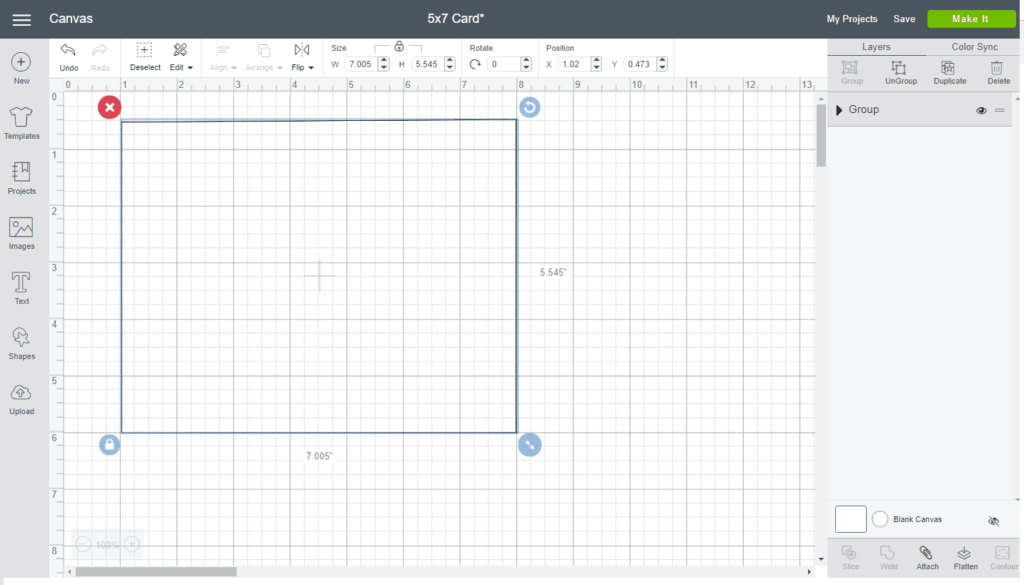
After you group the project, you’ll want to select the “Attach” option on the bottom right-hand side of the screen. This will attach all four lines together and place them appropriately on your cutting mat so your card will be cut properly.
You can now make your card as large or small as you’d like. I like to keep mine at the average 5×7-inch standard greeting card size. From here, you can decide if you want your card to be decorated horizontal or vertical. You can also add any text, images, and embellishments you want to put on your card.

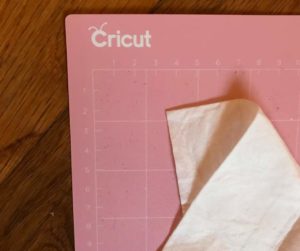
Don’t forget to select the “Make It” button and “Continue” to cut your project out. You’ll want to decide on your material depending on the cardstock you’re using for this project.
Don’t have the time to make your own card?
No worries!
You can grab my 4-inch by 6-inch card template, here.

Micah Klug is a homeschooling mother to five children and an author. She teaches time-tested solutions to help parents remember what matters most in life, including strengthening their home, faith, and family relationships. To learn how a child who grew up in an authoritarian home is now creating an environment of peace and joy in her own home visit this page. If you want to contact Micah, send her an email here or email [email protected].


This is a great tutorial! Learning new gadgets can be frustrating, but this is the perfect step-by-step guide.
Thanks for joining #WanderingWednesday!
Thank you so much, Shiree. Have a great day.
What a great tutorial! You’ve covered it all – I totally feel the same way – not a creative bone in my body!
Thank you, Lori. My hopes are that someone will benefit from these tutorials. =D
Have a happy day, friend.
I believe you can use the square and then unlock the shape with the little paddlock on the bottom left (which allows you to change the size while NOT keeping the proportion). Make it the width and length you want, and then relock it with the padlock.
Debbie is correct – just unlock the square after you draw it and you can easily create a rectangle.
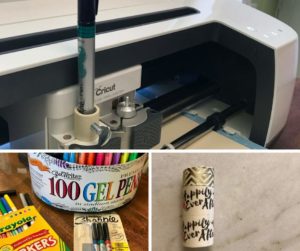
Great tutorial. I’m guessing that if you decide to add a design, cricut will tell you when to add the pen?
Yes, Cricut Design Space will prompt you when to add your pen when you create your card.
Thank you so much. I was getting so frustrated and now it makes perfect sense.
OH MY GOSH! Two weeks to try to figure this out! But now how about adding multiple mini cards to make a whole sheet for a print then cut file?