Cricut projects are the best, but no one ever talks about how to clean a Cricut mat. I’m going to show you how you can clean your Cricut mat basically for free.
This post contains affiliate links at no cost to you. Thank you for your support. If you have any questions, please read my disclosure policy here.
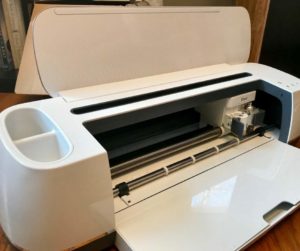
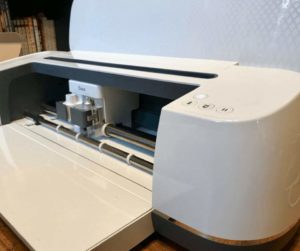
I absolutely love my Cricut Maker and truth be told, I don’t consider myself an amazing crafty person. (But I’m wanting and willing to learn).
If you feel overwhelmed with your Cricut, read my tutorial guide on using your Cricut machine HERE.
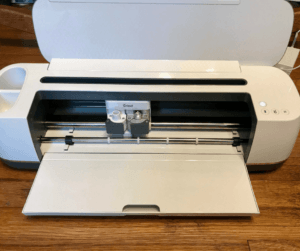
Whether you’ve had your Cricut machine for a long time (or this is a recent purchase you made), you’re going to quickly discover how dirty your mats are going to become.
No matter if you have the light grip Cricut mat, the strong grip mat, the fabric grip Cricut mat, or the standard grip mat, all of these will become dirty and I’m going to show you how to clean a Cricut mat for basically free.
How To Clean A Cricut Mat For Basically Free
Supplies Needed:
- A Lint Roller (for easy application), or some packing tape.
Instructions:
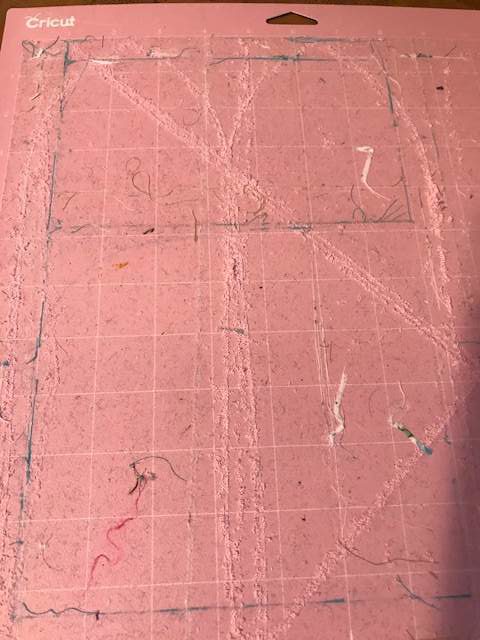
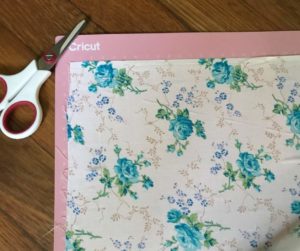
The mat I found that gets the dirtiest the fastest is the fabric mat. (Mine looks so nasty, and this was only after a few projects too! Eeik!)

I knew I didn’t want to spend money on buying more mats and so I thought, “there has to be an easier and more affordable way to reuse what I already have.”
And there is. All you need is a lint roller and a bit of patience.
The lint roller I used is a standard one you can easily find in your local grocery store or on Amazon. You’ll go through a couple of rolls, depending on how much fabric or paper your mat is covered with initially.
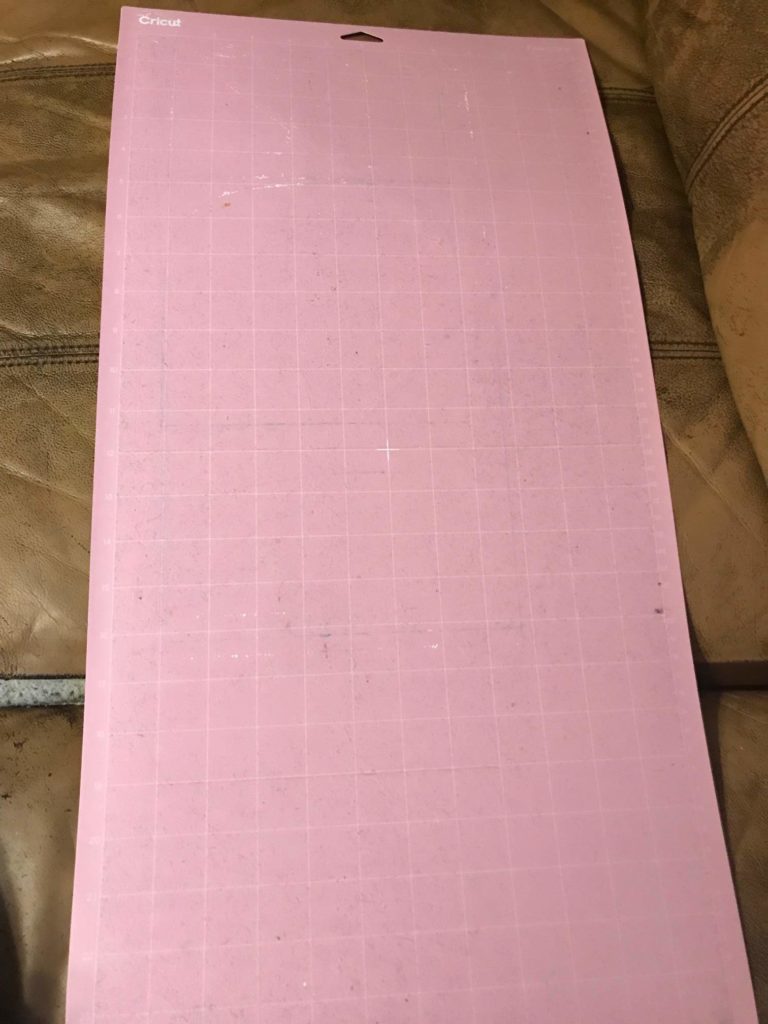
If you start feeling like your mat is losing its stick, don’t panic. This happens to the Cricut mats with age and time.
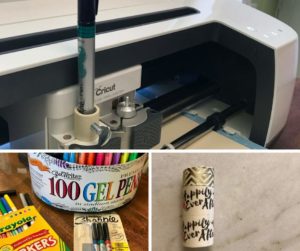
After cleaning your Cricut mat and removing your random pieces of fabric and small paper, just add a little spray adhesive to your mat before putting on its protective cover again.
The spray adhesive will give your mat more life and stick so you don’t have to worry about paper or fabric sliding off when your machine is trying to cut.
By regularly cleaning your Cricut mat, you’ll be able to save yourself a ton of money while allowing your craft supplies to last for a long time.
Do you have questions about how to use your Cricut machine? Leave a comment below and ask away!

Micah Klug is a homeschooling mother to five children and an author. She teaches time-tested solutions to help parents remember what matters most in life, including strengthening their home, faith, and family relationships. To learn how a child who grew up in an authoritarian home is now creating an environment of peace and joy in her own home visit this page. If you want to contact Micah, send her an email here or email [email protected].


I tried cleaning my purple mat and now it’s not sticky anymore, I used a slightly watered down Aleene’s tack it over and over and it still doesn’t seem to be very sticky. Did I ruin it by using the awesome on it and so I might as well throw it out? Any suggestions? Thanks for your help.
Kathy
I wouldn’t throw it out just yet, Kathy. The Aleene’s you used is a watered down liquid based. I would recommend you try a spray adhesive to get your mat sticky again. I would let your mat rest for a day or two and then apply a spray. Let me know how this works for you and if you have any other questions, friend. =D
My protective mat cover got ruined. What can I use to protect my mat now when not in use?
Thanks!
Paula
Hi Paula! I would recommend using something called, acetate sheet (my husband described them as “old school projector sheets”). Here is a link on Amazon for a 12-inch by 12-inch sheet (which would be the perfect space for the 12×12 mat), or, if you’re wanting just a single sheet to try, then I would strongly recommend you go to Staples or another office store and ask them if they have a single sheet for cheaper.
Otherwise, if you give me a week, let me do the research for you, and I’d be happy to let you know what I find works best and I’ll email you with my results. =D
I used Zig’s “Two way glue” on my mats after cleaning. Let it sit after applying. It really put the stick back in my mats.
I’m so glad Zig’s worked well for you! I have a post coming out soon that shows how to restick mats and which glues are safe to use. Thank you for sharing your knowledge with us!
I also used the zig. A year later it is still as sticky as a new mat. Worked well for me..
That is so awesome! I’ll definitely look into the zig adhesive as well. Thank you for your recommendation, friend.
i lost my cover and use a piece of laminating film I purchased at a teachers store.
That is such a great idea!
I’m a newbie, having just got my cricut maker. My first project of making vinyl name labels for our metals tumblers went relatively well. However, my second attempt was a disaster. I could not get the letters to peel off the transfer tape to stick to the tumber. It was a mess of wasted vinyl. It was a bear to get started / separate and even with many repeats of rubbing, I could not get it to work. Any suggestions?
Hi Carol! I’m excited for you with your new Cricut and all the projects you’re going to be doing. For transferring vinyl to tumblers, the first thing I recommend doing is cleaning the outside of your tumbler with rubbing alcohol (and allow this to dry and not apply the vinyl for 24 hours). Afterward, it’s important to take your time when applying the transfer tape to the vinyl and then onto the tumbler. You want to make sure that the transfer tape is sticking to the vinyl by applying pressure to both (you can do this with the back of a spoon or one of cricut’s tools that’s designated to help you apply transfer tape to vinyl). Then, take your time peeling off the transfer tape. I found that the slower and more meticulous I am, the better the results (especially if you have a detailed and complicated project). So, in short, make sure your tumbler is well cleaned (dry after using rubbing alcohol – wait 24 hours) and add lots of pressure to transfer tape when layering on top of your vinyl, and then take your time transferring.
Thank you for your question, friend. I hope you have a great day!
Hello Micah, I’m a beginner in the cricut world, my question is, I’m trying to make my letter smaller then they are, what do I have to do to make smaller for a geeting card?
Hi Irma, the best thing to do when you want to change your font size is use the font-size option on the top of Design Space. I found that by manually inputting the font number size (versus the drag and drop feature) that I’m able to have more control of the font size. Thank you for your question, Irma. Have a great day!
thanks for the tip on cleaning mats. will try it for sure
You’re so welcome! I’m glad you found this post helpful.
Which spray adhesive do you recommend?
Hi Felicia, I recommend this spray from my tutorial on “How To Restick Your Cricut Mats.” I use a light coating and this stick has lasted me for a long time! Happy crafting, friend!
https://homefaithfamily.com/restick-your-cricut-mat/
Hi Micah!! My name is Kelly! I’ve been using my Cricket for a while now and I have downloaded files for fonts with swirls, etc. The problem is I don’t have a program on my Lenova laptop to use. Is there one that you suggest that is affordable? Thank you so much for offering your wisdom!! God bless!!
Hi Kelly! Some of my favorite free and frugal programs for fonts includes Canva, Creative Market (these Hello Bride fonts are super cute), and the Hungry JPEG. They’ve been some of the best for finding and using (downloading and uploading) fonts. I hope this helps, friend.