There are so many easy crafts you can make by learning how to layer vinyl, and today, I’m going to show you how using Cricut’s Design Space. You’re going to love these easy step-by-step instructions for your next craft project.

This post contains affiliate links at no cost to you. Thank you for your support. If you have any questions, please read my disclosure policy here.
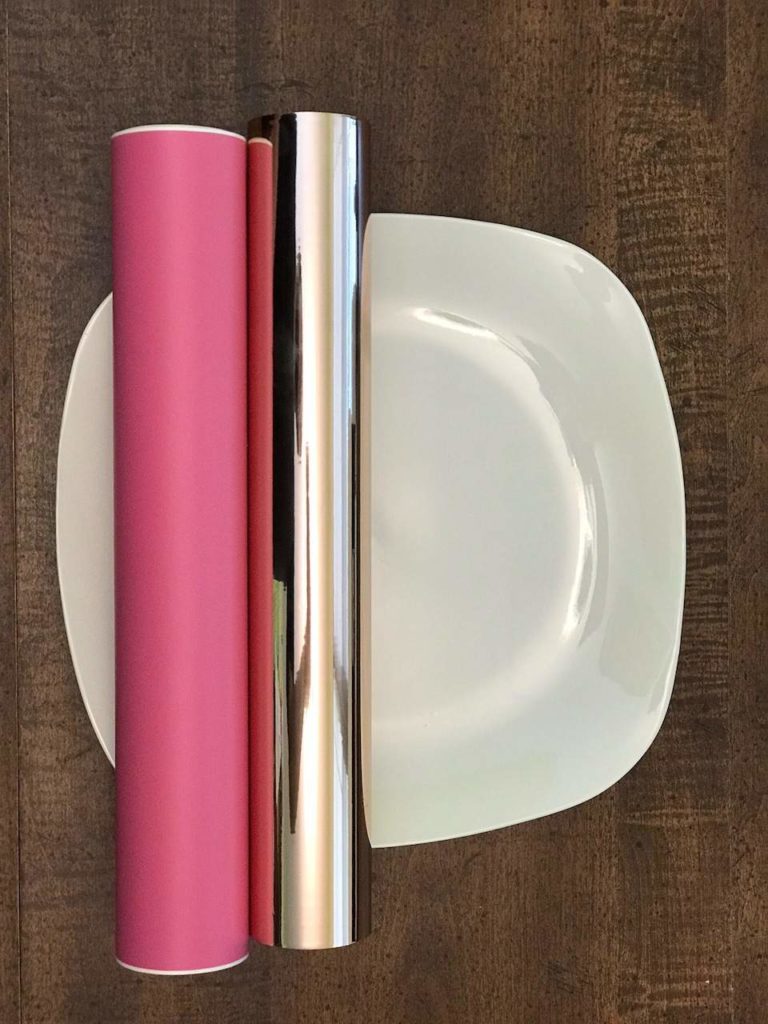
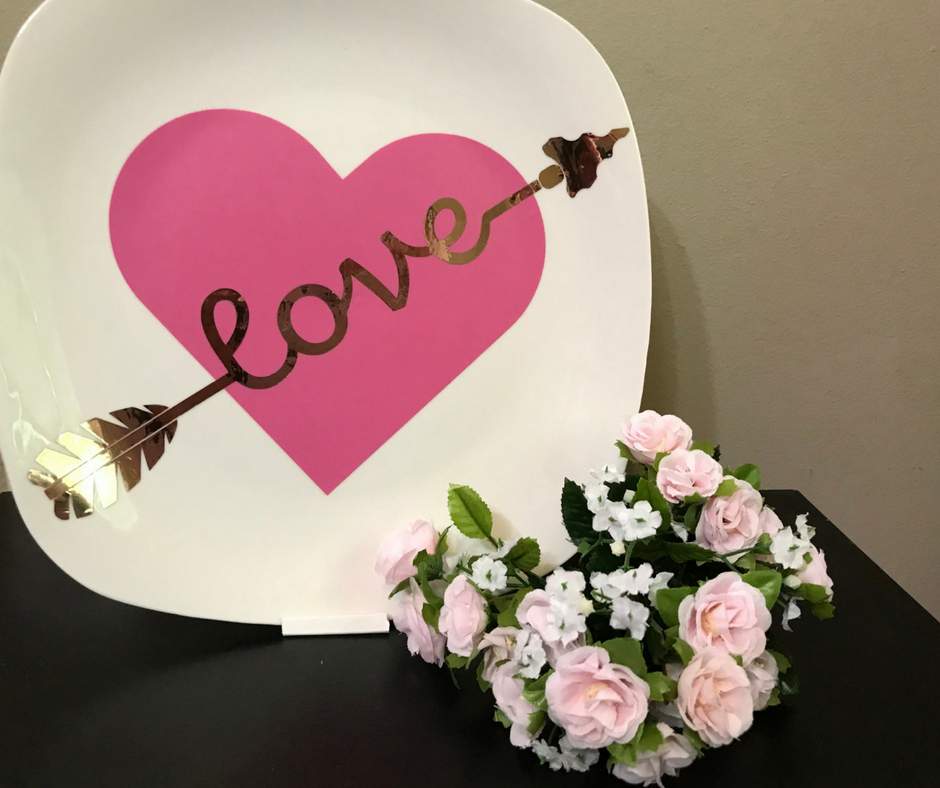
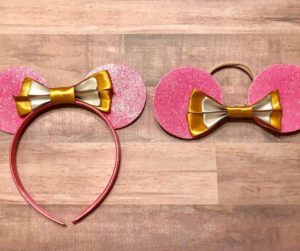
My daughter believes in everything pink and beautiful (which little girl doesn’t?) And we had a blast making this beautiful plate decor for her room.
Will you believe me if I tell you this vinyl craft only costs a few dollars to make?
I used the vinyl already in my craft room (money saved) and the beautiful plate cost only $1.
It’s amazing what beautiful creations you can make when you use what you already have on hand.
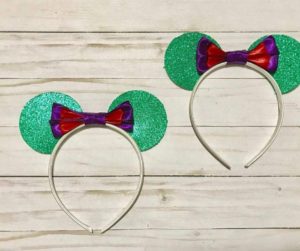
One of the reasons I love working with vinyl is because there are so many cute and easy crafts you can make for your home by learning how to layer. The end results are simply professional and adorable while the how-to is easier than you think.
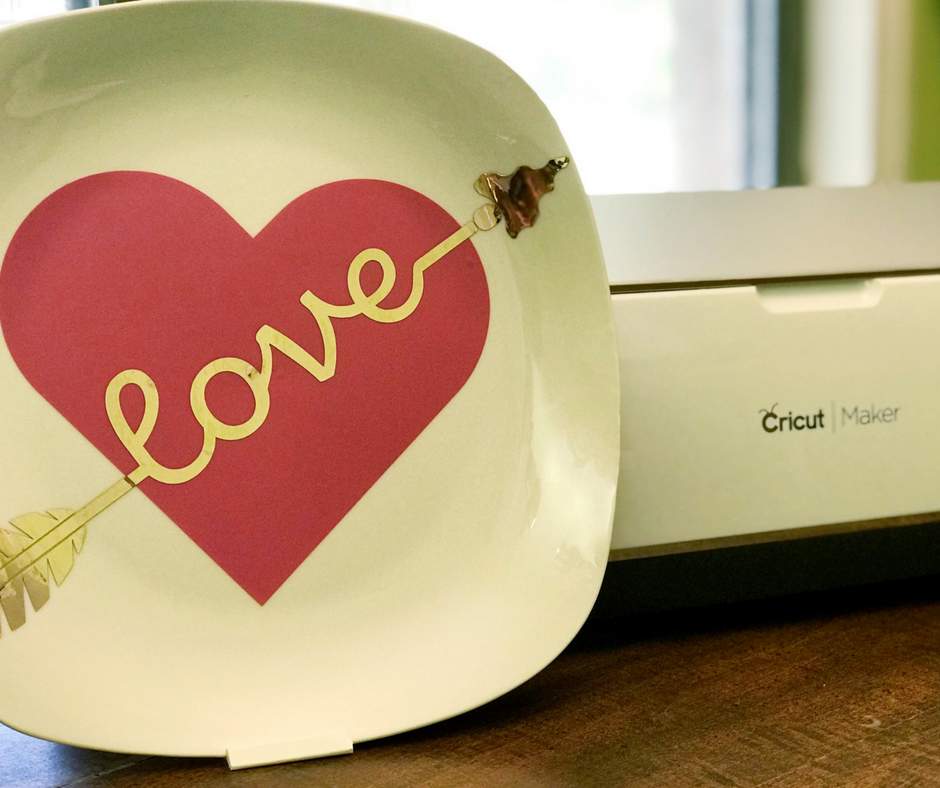
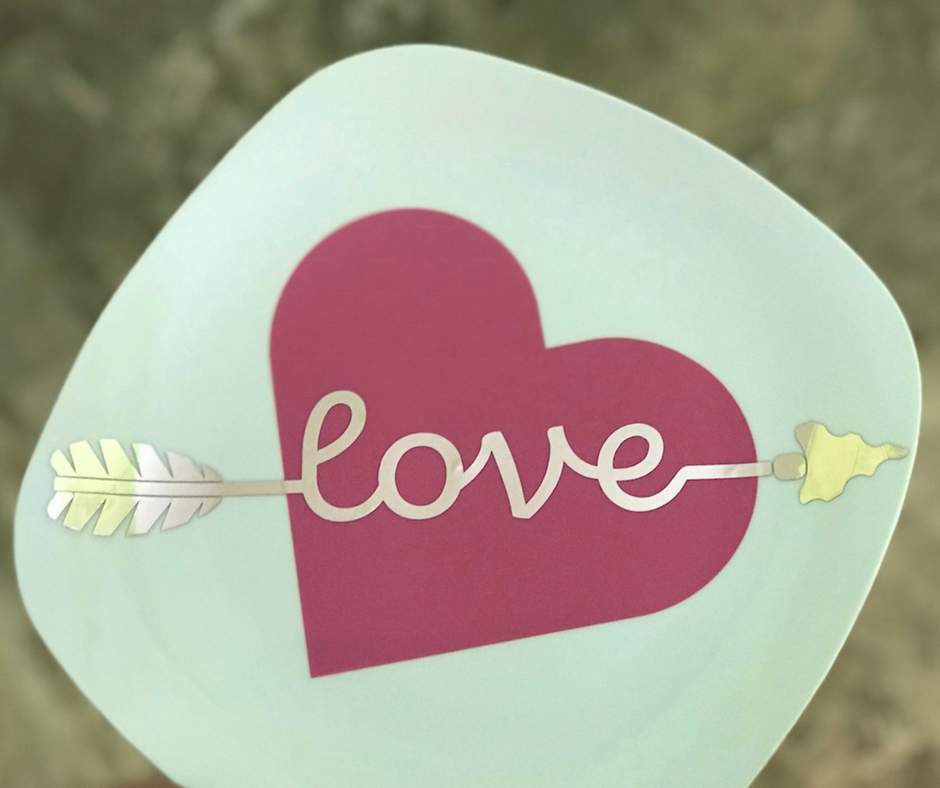
For this tutorial, I want to show you how you can create a two-layer vinyl on a white plate. This is the perfect addition to your home décor, as a gift, or to hang in a girl’s bedroom (like I did).
I want you to know that if you don’t have a Cricut, that’s okay! You can still bring new life to your plates, mugs, and more using vinyl and a stencil.
You’ll need a bit more patience and a time, but you can easily create this beautiful craft.
How To Layer Vinyl The Easy Way
If you’d like to make this project as you read these instructions, be sure to grab this SVG file in our Shop here.
Next, you’ll want to get a few supplies together in order to successfully complete this project.
Supplies needed:
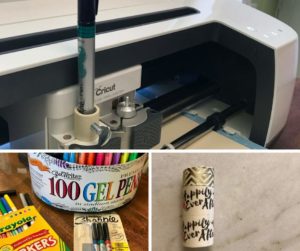
- Cricut machine – I love my Maker.
- Gold vinyl
- Pink vinyl
- White plate
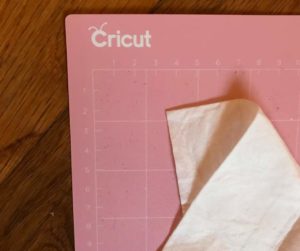
- Transfer tape – Having the grid has made my crafting life so much easier. Whoever invented this idea was a genius!
Instructions
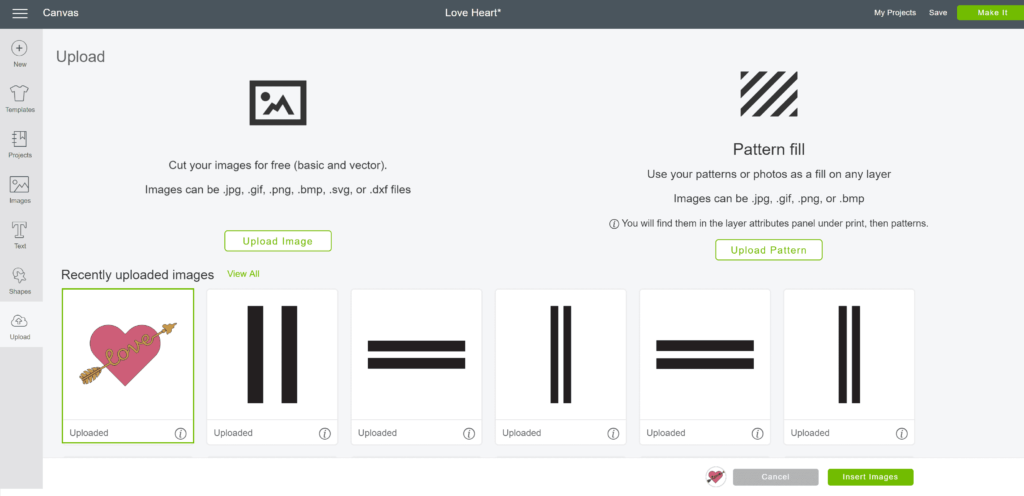
The first thing you’ll want to do is upload the SVG file to Cricut Design Space™ (if you’re making the heart and arrow project).
For image uploads, you’ll want to select the “cut your images for free” (on the left-hand side of the Upload area of Design Space).
Select “simple” image type and then “continue.”
Erase any areas you don’t want (for example, creating the image to have a transparent background). Select “save as a cut image” and continue.
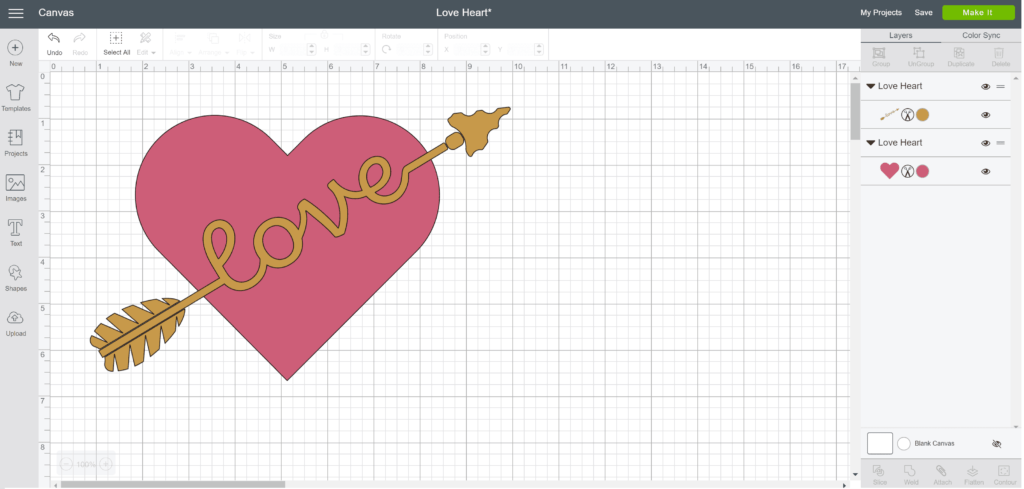
Resize your image in Design Space™ as needed, and don’t forget to change the color of the image to the matching color of the vinyl you’re using. Doing this little trick saves so much time (and it’ll save your sanity) when it comes to cutting and putting together your project.
Add any text you’d like for your project to Design Space™. Select the font you’d like to use, along with the appropriate size.
For the font, you can easily use either a fancy script or a basic block font. If this is your first time working with vinyl, I encourage you to practice with an easier font to help build up your confidence. The more you practice, the easier doing these crafts will be.
Organize your image and font so you can begin to visualize the end results of your project.
When you have everything looking the way you want, select, “Make It” and follow the prompts through Design Space™ in cutting your different layers of vinyl.
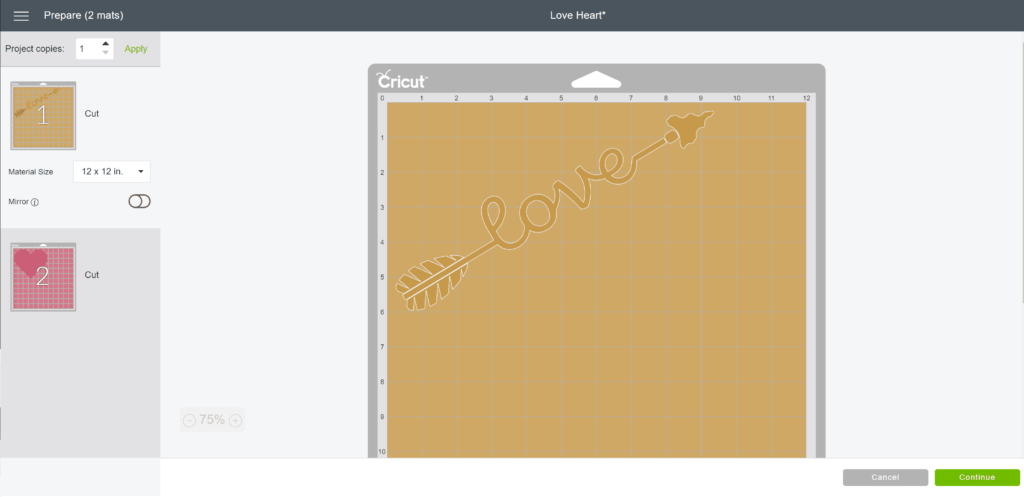
Once all of your vinyl is cut, you’ll want to prepare your crafting project.
Be sure to clean the surface of what you’re working with to remove any dust, fingerprints, or residue.
Pro Tip: If you want your vinyl to stick and last longer on your project (this is only if you’re working with objects such as plates, cups, mugs, tumblers etc.), you’ll want to clean the surface using rubbing alcohol and a cotton ball. Wipe the surface down and allow to air dry for 48 hours. The vinyl will have an easier time sticking to your object and will not lose its stick as quickly.
Lay the bottom vinyl layer to your main project, first. Securing the heart to the white plate was simple due to the large size where I didn’t feel using transfer tape was needed for this part.
The only difficulty I had was my OCD perfectionist tendencies came out as I wanted to make sure the heart was centered on the plate properly.
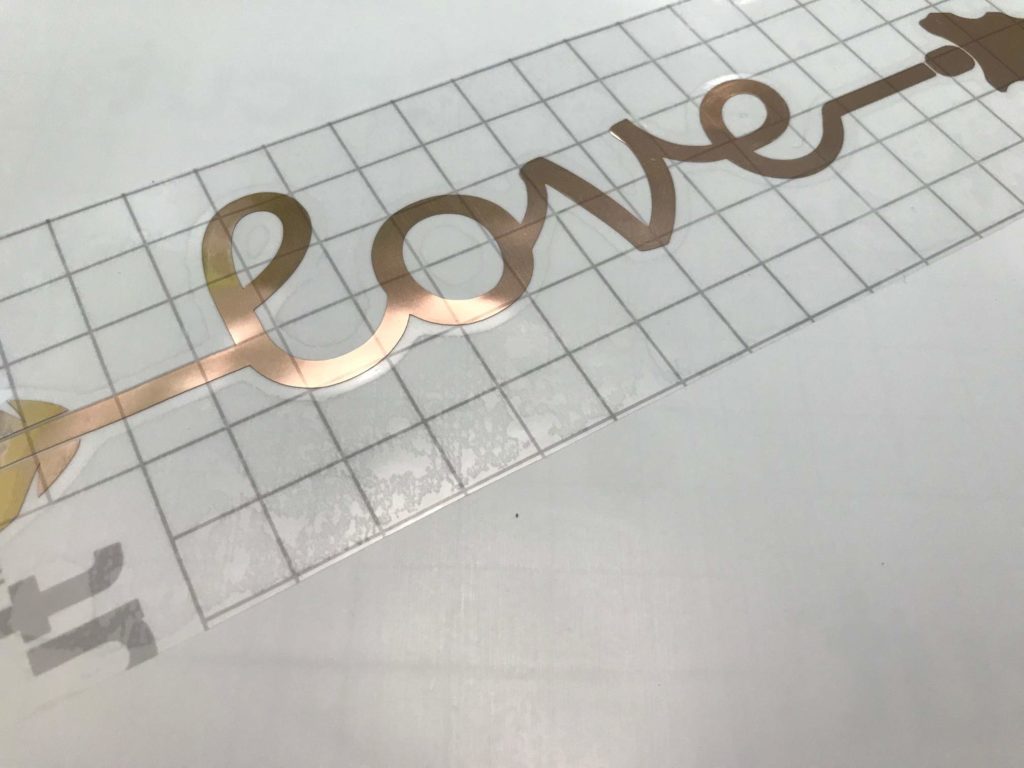
Next, you’ll want to remove the negative space around the “love” lettering, including any holes that might be present inside letters with loops (such as e’s, o’s, etc.). Place transfer tape on top of this lettering and secure both the transfer tape and vinyl together.
You’ll want to use vinyl transfer tape to perfectly align your vinyl to your project. I love transfer tape for any vinyl project, but when you’re layering vinyl on top of each other, this transfer tape is absolutely necessary if you don’t want your project to fail.
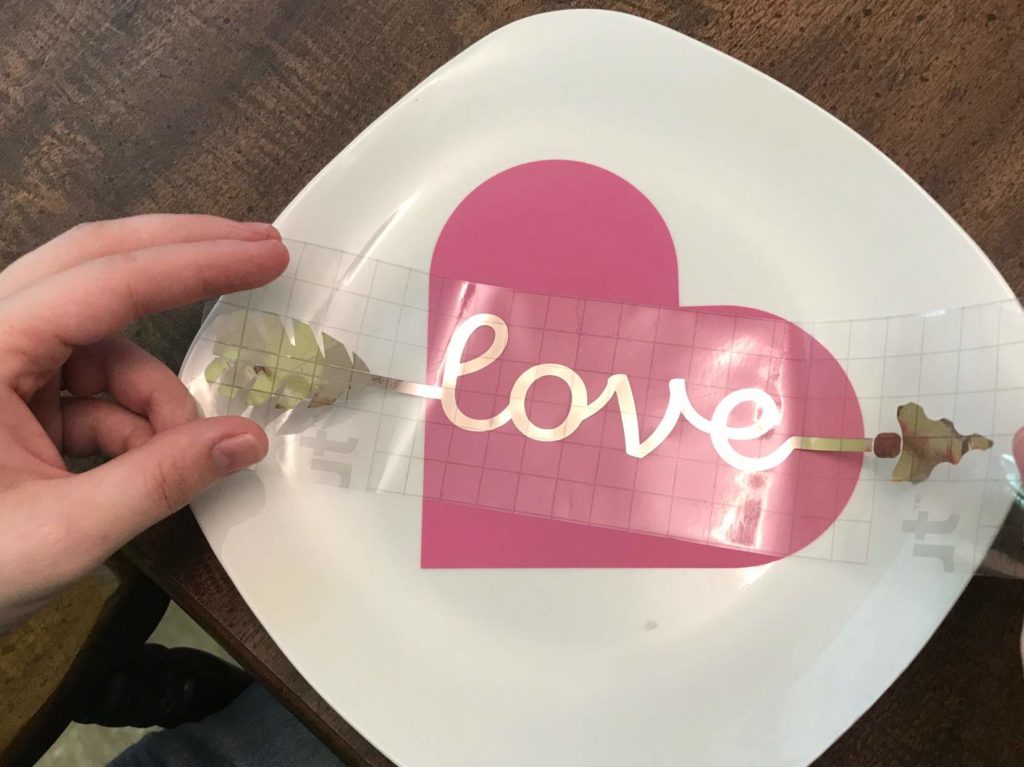
Go slowly on this next part since it’s very difficult to remove vinyl from a project once it’s secure. You’ll want to line up the lettering with the heart to where you desire for your project. Starting in the middle of the heart, lay the lettering and slowly smooth the lettering, moving from the inside to the outside.
Slowly remove the transfer tape and enjoy your new craft!
There are so many fun things you can make with vinyl, whether it’s storage containers for your kitchen, clothing for your children with a heat-transfer vinyl, or another fun crafty project.
And there you have it!

Micah Klug is a homeschooling mother to five children and an author. She teaches time-tested solutions to help parents remember what matters most in life, including strengthening their home, faith, and family relationships. To learn how a child who grew up in an authoritarian home is now creating an environment of peace and joy in her own home visit this page. If you want to contact Micah, send her an email here or email [email protected].


So pretty, thank you so much for sharing how to layer vinyl.
Thank you so much for your sweet compliment, Kippi. Have a great day!
That turned out very nice, it would make a great valentines gift too! Thanks for sharing it with us at the Homestead Blog Hop, please come back again soon! 🙂
Thank you so much, Ann. I do love how such a simple craft turned out so well (especially without breaking the bank). Thank you for stopping by and have a great day.