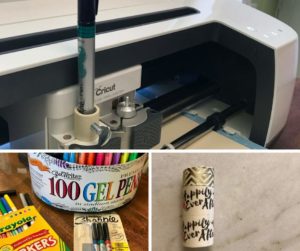
These tips are amazing for being able to quickly restick your Cricut mat. If you’re looking for a safe, affordable, and easy way to restick your Cricut mats that actually works, then you’ll love this way!
I recently had a reader tell me about an experience she had with trying to restick her Cricut mat. She used a watered down glue and this did not do well on her mat.
She asked me, “Did I ruin my mat by using the watered down glue on it? Do I need to throw it out? Any suggestions?“
The first thing I suggested to my friend was to clean her Cricut mat from the glue she added. She could easily do this by wiping her mat clean with baby wipes.
I then told her how she could successfully and easily restick her Cricut mat without the headache of wondering whether she did this right and if her mat would be sticky again.
I want to share the same tips and tricks with you.
This post contains affiliate links at no cost to you. Thank you for your support. If you have any questions, please read my disclosure policy here.
How To Easily Restick Your Cricut Mat
Supplies Needed For Resticking Your Cricut Mat:
- Basting Adhesive Spray – this is the kind I use in this tutorial and it’s AMAZING!
- Clean Release Painters Tape
Instructions For Resticking Your Cricut Mat
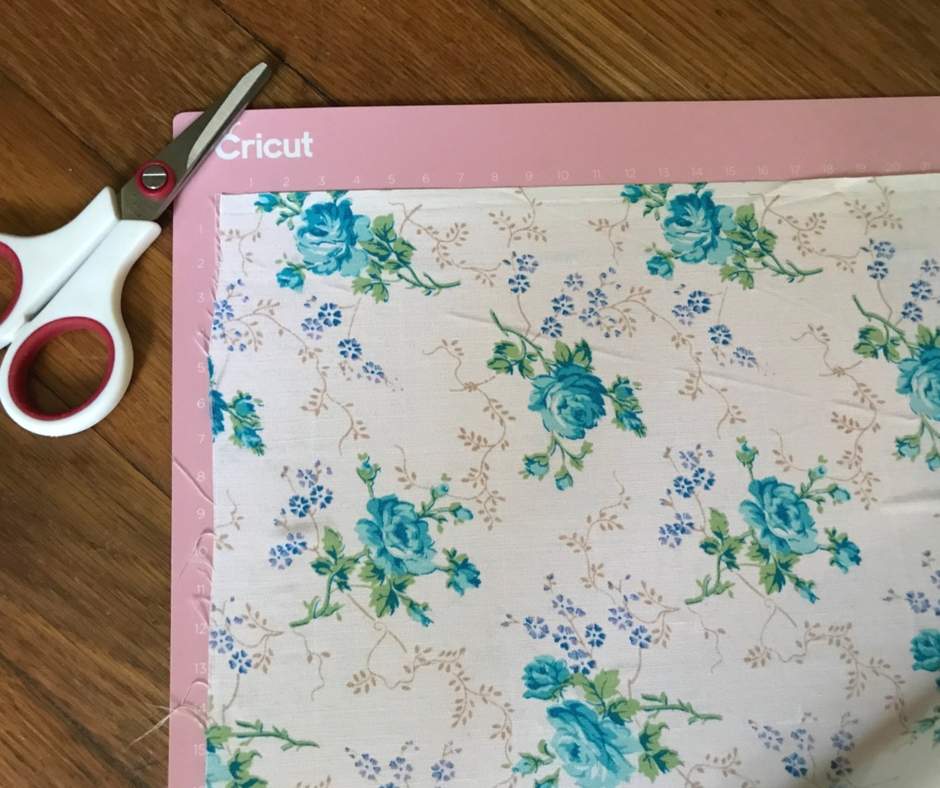
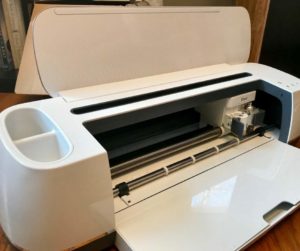
The first thing you’ll want to do is make sure you have a clean Cricut mat. You can easily do this by using baby wipes or by learning how to quickly clean your mat (for basically free) here!
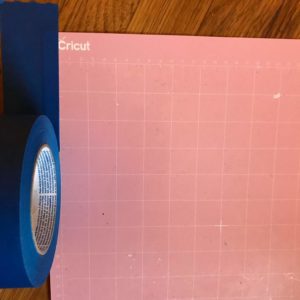
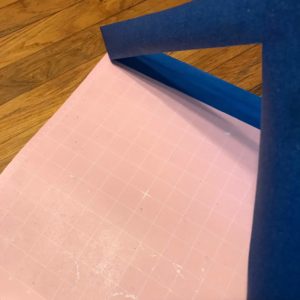
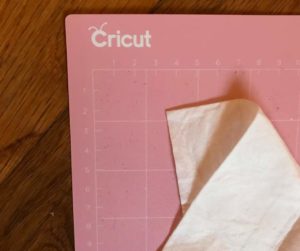
Once your Cricut mat is cleaned, you’ll want to find a flat surface, such as a hardwood floor, a table or countertop. You’ll then tape the edges of your mat with painters tape to protect the edges of your mat and secure your mat to your working space.
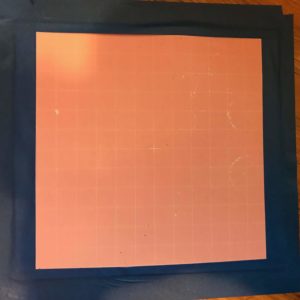
The painter’s tape for this project had the measurements of 1.88 inches by 60 yards. This is primarily to keep the edges of your mat from becoming sticky. We only want to restick the inside of your square where your paper and fabric go, not the entire mat itself.
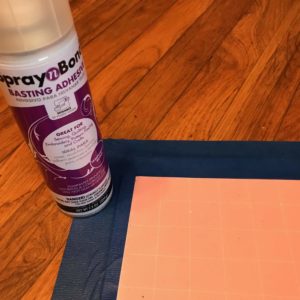
You’ll then want to grab a can of spray adhesive. I strongly recommend using the Spray n Bond Basting Adhesive. This is a temporary bond for crafting and this adhesive made my Cricut mats feel like new again. I was so happy with the results.
Use your spray adhesive and spray onto your mat (be sure to follow the directions on the back of the can and be safe).
Wait for 10-15 minutes for the spray adhesive to dry and really stick into your Cricut mat.
After this time you can lift a corner piece of your painter’s tape and remove this from the four edges of your mat. You can now safely add your plastic cover onto your mat for added protection.
My favorite part of resticking my Cricut mats was feeling the new sticky feeling of the mat. To me, this added so much life to my mats and made this crafting helper feel like new again.
What questions do you have about using your Cricut or crafting supplies? Ask away in the comments below.


Micah Klug is a homeschooling mother to five children and an author. She teaches time-tested solutions to help parents remember what matters most in life, including strengthening their home, faith, and family relationships. To learn how a child who grew up in an authoritarian home is now creating an environment of peace and joy in her own home visit this page. If you want to contact Micah, send her an email here or email [email protected].


I will be giving this a try. I’ve another way that isn’t my favorite but worked ok, this sounds so much better. Pinning THANKS!!
I know you’re going to love resticking your mat this way! Be sure to let me know your thoughts and how everything works for you. Thanks for coming by, Meg!
Ugh, I wish I saw this before buying my second Silhouette mat. This would have saved me some cash. Oh well, pinned and will use this when my mat needs a refresh.
Oh no! I know how expensive the mats can quickly become. I’m glad you found this tutorial to help in the future, Erlene. Thanks for pinning and have a great day, friend.
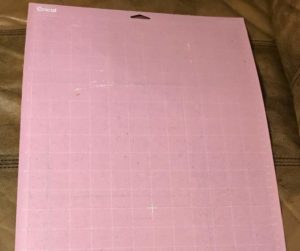
This is good to know! My pink mat was loosing it’s stickiness!
Yay! I’m so glad you found this helpful! You’ll love how easy everything is to restick your mat. The thing I love the most is how sticky my mat still is, even several weeks after resticking it. It’s like having a brand-new mat.
I tried on two of my mats. They vinyl and cardstock I was attempting to cut stuck to the mat like a new mat BUT there was a sticky residue film on the back of my materials. Its no problem with vinyl but the cardstock might be a problem. Any suggestions!
If the cardstock does stick, I would take a baby wipe and lightly wipe away some of the built-up film. This should help with any problems you have with the paper sticking to the mat. Have a great day, friend.
Is there a difference when resticking fabric light standard and strong grip mats?
Hi Elise! I have treated both mats (standard and strong grip) the same when it’s come to resticking my mats. I use the same spray adhesive and I’m able to do my projects on the different mats without any trouble. Thank you for your question! Have a great day, friend.
This sounds great can’t wait to try it, how long will the resticking last??
Hi Shari! I did a restick on mine about nine months ago and the stick is still going strong. But, I will say that a lot will depend on how often you use your mats. If you’re crafting and using your mats every day, then you’ll need to restick your mats again sooner than someone who crafts once a week (or even once a month).
Hi, can you do this on light grip mats ?
Thank you
Yes, you can use this same method on the light grip mats.
Hi, I tried the basting spray and have been thrilled with the result.
Yay! I’m glad you found this helpful, Karen. I hope you’re enjoying the new long-life of your mats.
Would you restick the light grip mat the same way?
Yes! I use this method for all of my mats. Just make sure it’s a light layer 😉
I’m so glad I found this blog tonight. I’ve used my fabric mat with flannel over the course of 24 hours and it’s already lost it’s tack. I was getting ready to wash it and I’m hoping that livens it back up long enough to get some of that basting spray you posted. I didn’t expect it to lose all stickiness in such a short time, my only thought is that flannel is so absorbing, at least it wasn’t microfiber!
Flannel is a notorious fabric for losing a mat’s stick. I hope you found the basting spray helpful. One can has lasted me months and months (and has saved me so much money, so I’m not having to buy new mats).
It works perfect!!! Thank you!!!!
Woo hoo! Glad to hear, Diana!
After cleaning my mat I don’t like the adhesive spray because it does not last that long so after your mat is clean and dry – tape the edges of it and then make a glue mixture 1 teaspoon of Take It Over and Over glue and 2 teaspoons of water, mix together and then apply to your mat with a foam brush, the mat stays sticky for a very long time. I have done this for years.
Thank you for sharing this Sarah! I’ll have to give your sticky recipe a try.