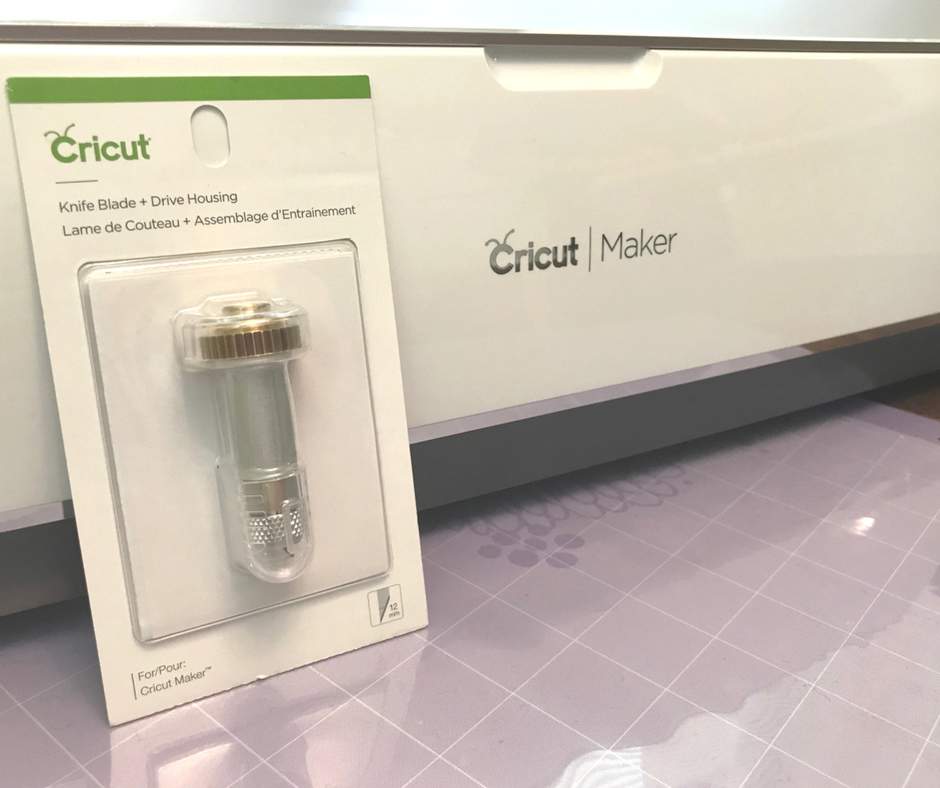
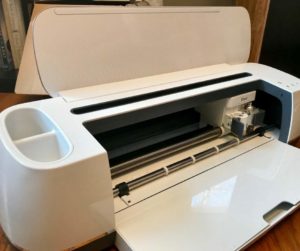
The Cricut knife blade will quickly become your new crafting secret weapon. But, before you start any tutorials, you’ll want to learn all you can about what your new DIY tool can do and eliminate any overwhelm you might have about using this tool on your Cricut Maker.
This post contains affiliate links at no cost to you. Thank you for your support. If you have any questions, please read my disclosure policy here.
I absolutely love the power the Cricut Maker offers crafters and DIYers, and the new knife blade is no exception.
When my husband first surprised me with the Maker, although I was excited, I quickly felt overwhelmed because of everything new that was being presented. After doing some deep diving into Cricut, Design Space, and the Maker itself, I came up with these tips to help you eliminate your own overwhelm in using your Cricut Maker.
One of the tips I learned was of the crafting possibilities of the knife blade, which, at that time, had not been released.
Now that this new crafting tool is here and I want to be an open book for you in all that I’ve been learning about this new tool.
I also want to share what’s been helping me in this crafting journey and other tips for eliminating overwhelm using your new Cricut knife blade.
Tips For Eliminating Overwhelm Using Your New Cricut Knife Blade
What Can The New Cricut Knife Blade Cut?
One of the most important lessons to learn is what your new Cricut knife blade can cut. (And no, fruit leather is not one of them – although my sweet husband wants to try).
The approved list of the knife blade cutting materials include:
- Balsa wood (up to 3/32″)
- Basswood (up to 1/16″)
- Tooling leather (up to 7 oz)
- Garment leather (up to 5 oz)
- Chipboard (up to 2 mm)
- Matboard (2-ply or 4-ply)
- Craft foam (up to 3 mm)
You can find each of these items on this list at your local craft store.
For any projects, you create when using the knife blade, I strongly encourage you to purchase these items in person so you can check the integrity and stability of the craft medium you’re going to be using.
I’m going to completely open up and let you know when I went to look at balsa wood and basswood for a future project, I was shocked by how thin Cricut’s approved size for these two items are.
They were VERY thin, easily breakable, and truthfully, I was a little disappointed that the machine couldn’t handle a wood with a little more thickness. I didn’t like the idea of having to double and layer for a single project.
But, I’m finding that when I focus on what the knife blade can do (instead of focusing on what it CAN’T do) that I’m very pleased with the crafts that I’m going to be sharing with you in the coming weeks ahead.
Before Your Start Using Your New Knife Blade
The knife blade can only be used on the Cricut Maker when Design Space is accessed from a laptop or desktop. (Sorry smartphones and tablets. My fingers are crossed that this will change in the future).
Before you begin your first project using your knife blade you’ll want to make sure time is on your side.
When I uploaded my first design and pushed the “Make It” button, I didn’t realize that a simple cut was going to take a little over 20-minutes. Then I decided to create something more intricate and was waiting for nearly an hour while the cuts were being made.
The knife blade is not a crafting tool you want to use if you’re short on time.
You’ll want to turn off the “Sleep Mode” on your laptop or desktop so your project doesn’t stop and prepare to wait.
When You DIY Your First Cricut Knife Blade Project
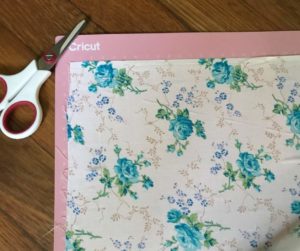
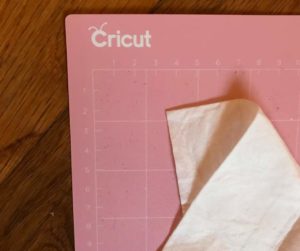
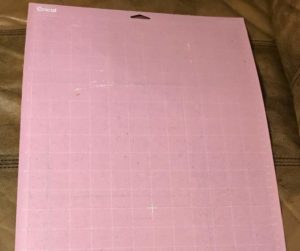
You’ll want to make sure you’re using a strong grip mat for any knife blade craft you complete. This mat does come in 12″x 12″ size, but I strongly encourage you to use the 12″ x 24″ mat.
The reason why I love the longer strong grip Cricut mat is that I don’t have to limit myself to a smaller size when crafting with the knife blade.
With the possibilities of making a variety of projects that will be a larger size than most of your usual Cricut projects, you’re going to love the flexibility and possibility of having the longer mat available to you.
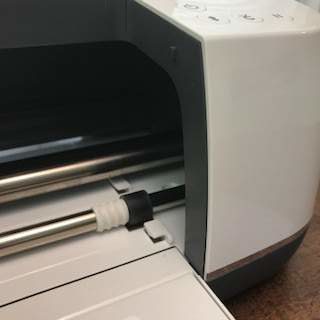
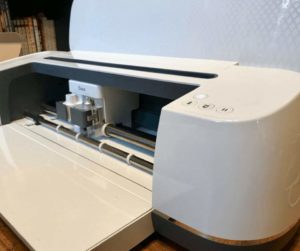
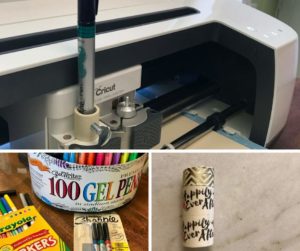
You’ll also want to move the white rings all the way to the side before doing any craft with your knife blade. The Maker is not designed to use the knife blade with these rings in their current position.
Final Thoughts On The Knife Blade
After making my first project while using the knife blade I noticed that the blade does cut into the mat. Be prepared for this because your heart is going to sink a little when you see the cuts.
I know mine did, and no amount of clearing your cache on your computer or recalibration is going to change these deep cuts into your mat. It’s just part of the tool and the territory, (sorry!)
If you can, have a dedicated strong grip mat strictly for knife blade crafts only. This will help you save the life and longevity of your other mats.
A second note to consider is on detailed cuts when you’re using your knife blade.
The first project I made with the knife blade, I used a sheet of 4-ply matboard. I loved how the knife blade cut into this 4-ply board, however, I found that the best results would have come if I had turned the matboard upside down when being cut.
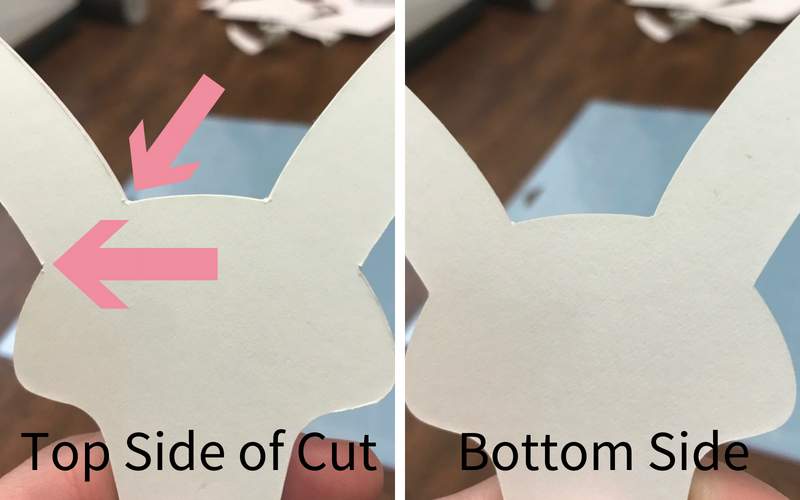
There were times, especially around sharper corners where the knife blade would drag or not cut properly (see the knicks of where the pink arrows are pointing to in the picture above). However, if I turned the matboard over, you couldn’t even tell these mistakes.
In short, I learned when using a sheet of matboard for a craft, I need to turn the board upside down on the strong grip mat if I want the cuts on the top side of my craft to be smooth and clean.
For this craft, I used a simple X-acto knife (which is basically all the knife blade is) to fix these smaller errors very quickly and nicely.
Overall, your knife blade will create some beautiful crafts for you and your loved ones.
Once you learn how to eliminate the overwhelm of using your knife blade for the first time and focus on the crafts you can create (instead of the ones you can’t) – and with a lot of time on your side – you’ll be creating some beautiful crafts in no time.
Before you go I would love to know what questions you have about using your new knife blade? Leave a comment below and ask away. I’m always happy to answer your questions and do a little experimenting on my Cricut for you.

Micah Klug is a homeschooling mother to five children and an author. She teaches time-tested solutions to help parents remember what matters most in life, including strengthening their home, faith, and family relationships. To learn how a child who grew up in an authoritarian home is now creating an environment of peace and joy in her own home visit this page. If you want to contact Micah, send her an email here or email [email protected].


Is the knife blade available for use with the other Crichton machines? Like the Explorer?
Unfortunately no. According to Cricut the knife blade is only compatible with the Maker.
Hi Micah. Have you had any issues with your knife blade cutting into the mat to the point of ruining it?
Hi Christopher, the knife blade does cut into the mat, which leaves the outline of your project. However, the knife blade hasn’t gone through the mat (thankfully) to where the mat is unusable. If you know you’re going to use your knife blade frequently, then I recommend buying a mat specifically for knife projects because that mat will be well loved and used after a few projects. 🙂