Grab your free SVG file to DIY this cute unicorn headband for your next costume idea. This DIY unicorn headband is easy to assemble and quick to put together. So pull out your Cricut and start crafting!
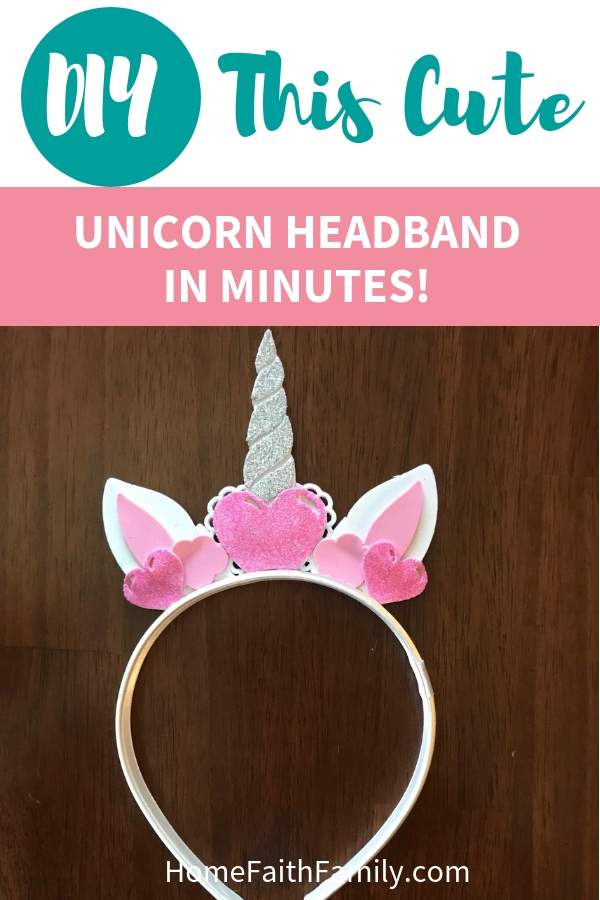
I have a young daughter who loves everything unicorn, and she’s in no hurry to grow out of this magical unicorn phase of wonder and surprise.
And that’s okay for me because she’s still little and I’m in no hurry for her to grow up.
So, for her birthday, my husband and I put our heads together to create a unicorn theme birthday party for her, including this gorgeous unicorn headband.
My husband found this free unicorn SVG file from Printable Cuttable Creatables that we used for our birthday girl’s unicorn crafts.
We fell in LOVE!
After looking over this free SVG file, we knew right away that this screamed our daughter’s name and that she was going to love this headband.
Please check Printable Cuttable Creatables’ website when you grab this SVG file (and more. She has some REALLY cute stuff available). At the time of writing this post, the file was free but be sure to check on price differences pending over time (just in case).
DIY This Cute Unicorn Headband In Minutes
This post contains affiliate links at no cost to you. Thank you for your support. If you have any questions, please read my disclosure policy here.
Supplies Needed To Craft This Headband
- Super Glue
- White headband (I used this one from Hobby Lobby and love how sturdy the headband is – at least little brothers haven’t destroyed this headband yet.)
- Pink glitter foam
- Silver glitter foam
- Pink foam (the reason why I love this product so much is that there are three different shades of pink for you to choose from).
- White foam
- Knife blade for the Cricut Maker. (My husband and I tried the standard cut on our Maker, and the cuts weren’t deep enough for the foam. We found we had better success using our knife blade to cut the foam cleaner and faster).
Assembly Instructions For The Unicorn Headband
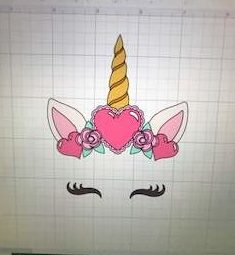
The first thing you’ll want to do is upload the unicorn SVG file into Design Space.
I’ll be the first to admit, I was a little intimidated by all the cuts in this file, but I promise this only looks scary in Design Space. Once you start cutting everything out, everything has a way of assembling nicely together.
For our headband, we opted to NOT cutting the eyelashes (since there wouldn’t be anywhere to put them on the headband) and the green leaves.
The reason why we didn’t cut the green leaves is because the cut would come out way too small for crafting comfort, and we were concerned this would make the unicorn headband look more silly and less cute.
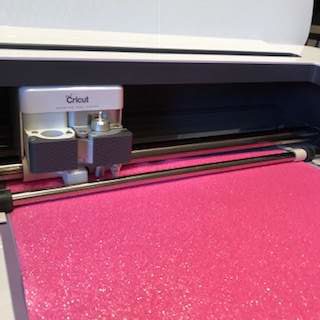
When my husband and I were cutting the foam, we tried the standard cutting adaptor and felt that the cuts weren’t as clean. This craft is completely doable, but for a cleaner look, we preferred using our knife blade.
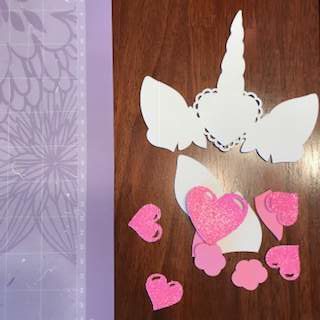
You’ll want to cut your pieces of foam and set each of the unicorn’s parts aside for an easier assembly.
The white backer (otherwise known as your base) will be your largest cut. This is what you’re going to use to glue everything onto when they’re cut.
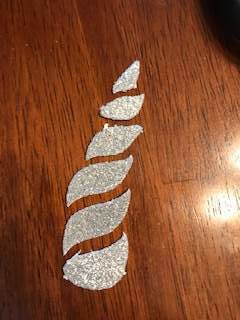
The most detailed cut you’ll have is your unicorn horn.
I highly recommend you assemble this piece onto your headband as you remove each detailed piece from your foam.
You’ll be glad you did this, but just in case, I’ll share my picture with you on the order of the foam pieces because heaven knows I needed this picture when I was assembling my headband.
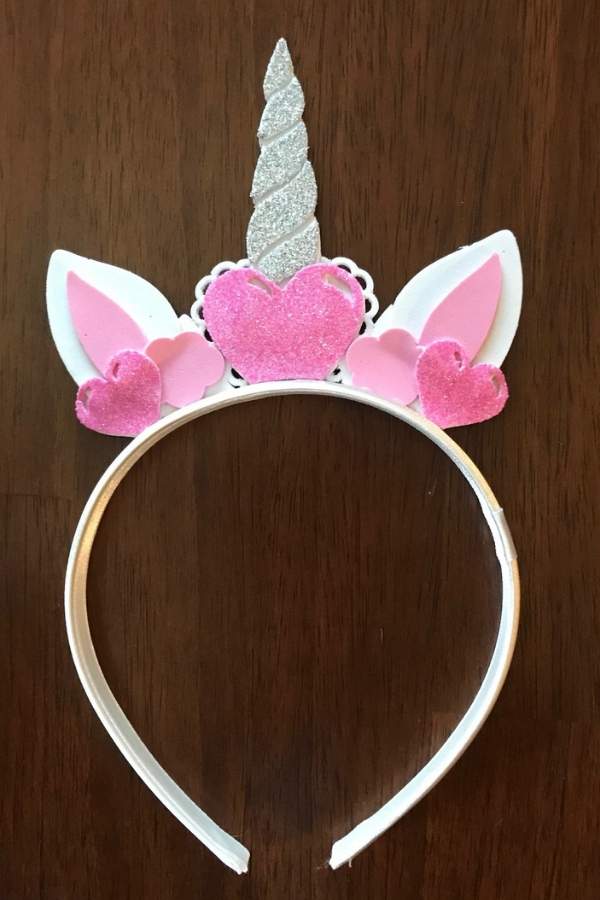
Once all of your pieces are cut and ready to be assembled, layer them (without applying the glue) onto the base. The reason why you want to do this is so you can decide which flower and heart pieces will overlap and which pieces will have a little “tuck” in them.
Plus, this gives you a chance to set everything up on your unicorn headband as you’d like without the fear of knowing you can’t change anything.
When my husband was gluing this together for our daughter, we had our little boys watching us craft, and heaven knows if their curiosity would have got the better of them, then this unicorn craft would not have turned out so cute!
Once you have your pieces where you want them, start gluing them onto the base.
You’ll want to give yourself time for the foam to dry before you glue the unicorn foam to the white headband. And don’t be scared of the glue, you’ll want to be generous when putting together your foam and headband.
Trust me, a little glue goes a long way, but a lot of glue will make sure your unicorn horn isn’t going anywhere.
After you glue your foam to your headband, set your headband aside for the glue to properly dry and then have fun giving this headband as a gift (or wearing this cute craft yourself!)
If you know someone who loves unicorns as much as you do, be sure to share this post with them! Maybe you two can coordinate a unicorn costume with this headband…just an idea.

Micah Klug is a wife, homeschooling mother to five children, and author. She teaches time-tested solutions to help parents remember what matters most in life, including strengthening their home, faith, and family relationships. To learn how a child who grew up in an authoritarian home is now creating an environment of peace and joy in her own home visit this page. If you want to contact Micah, send her an email here or email [email protected].

Pingback: 10 Handmade Gifts for Kids -
Pingback: headband unicorn support website – live a drift life
Pingback: Cricut Maker Projects: 35 Amazing Ideas to Make with your Cricut Maker Now! - Leap of Faith Crafting