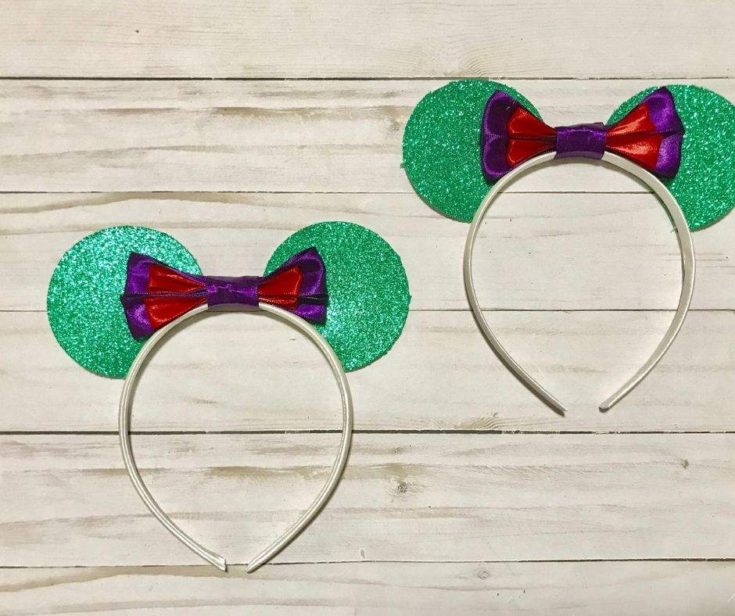
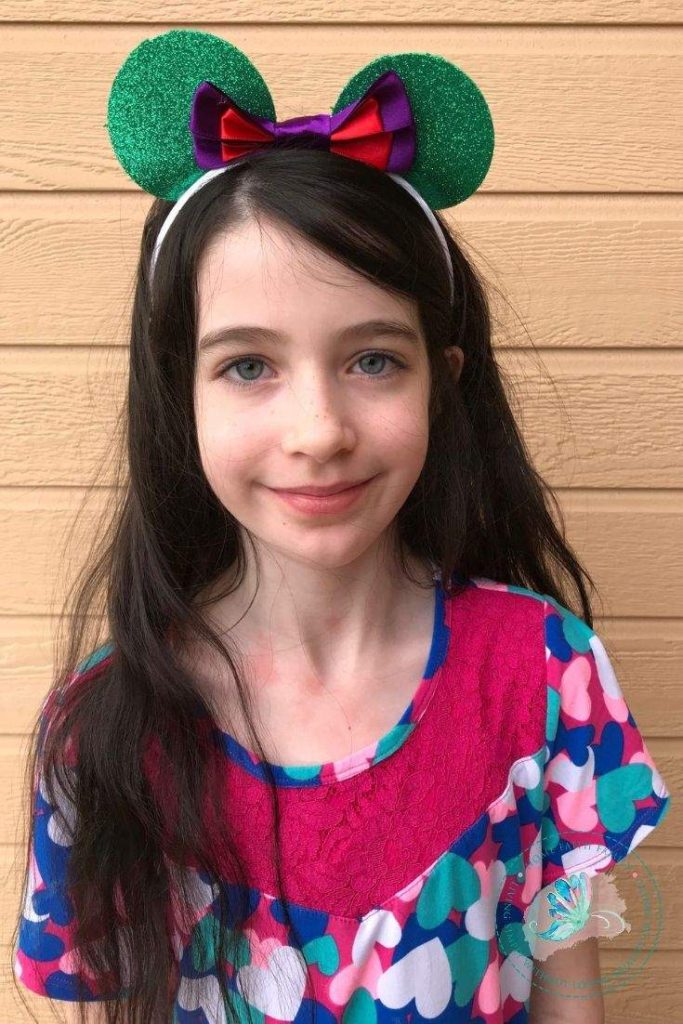
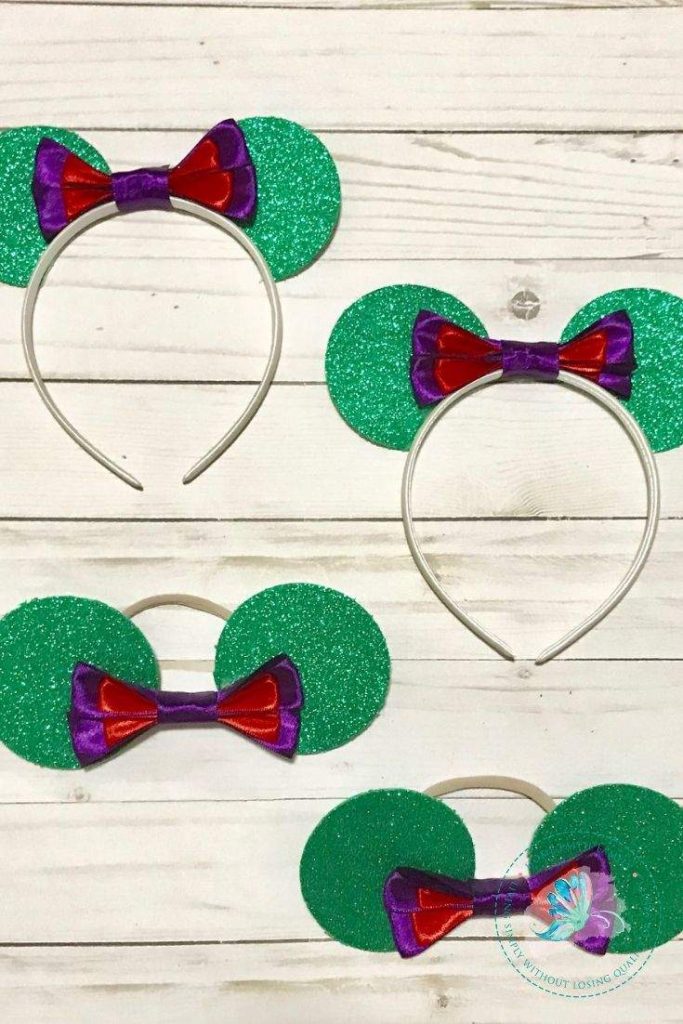
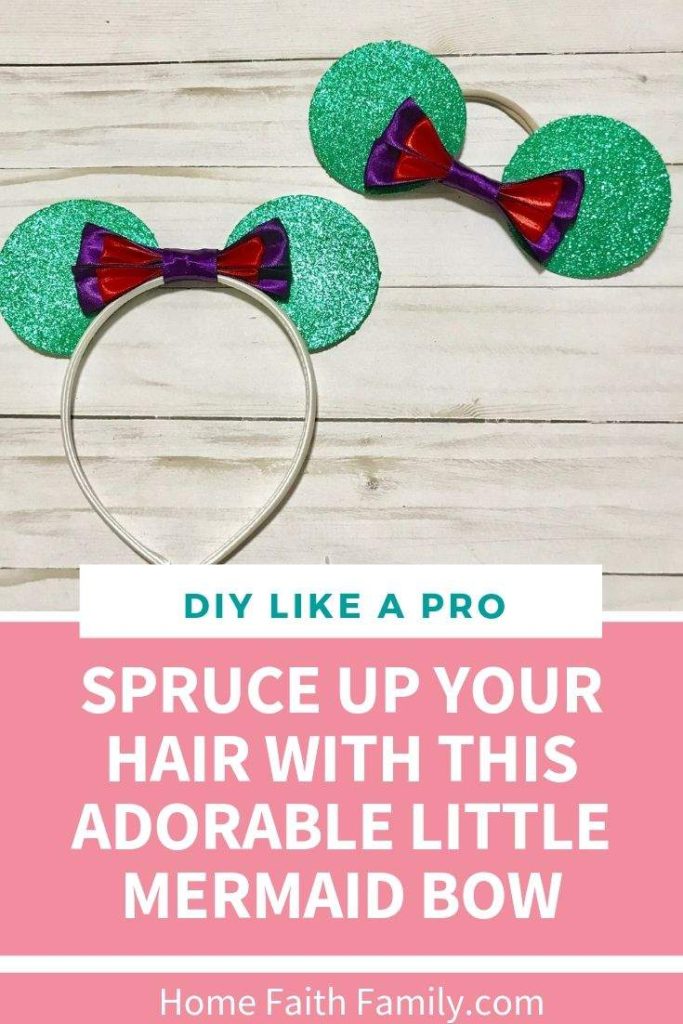
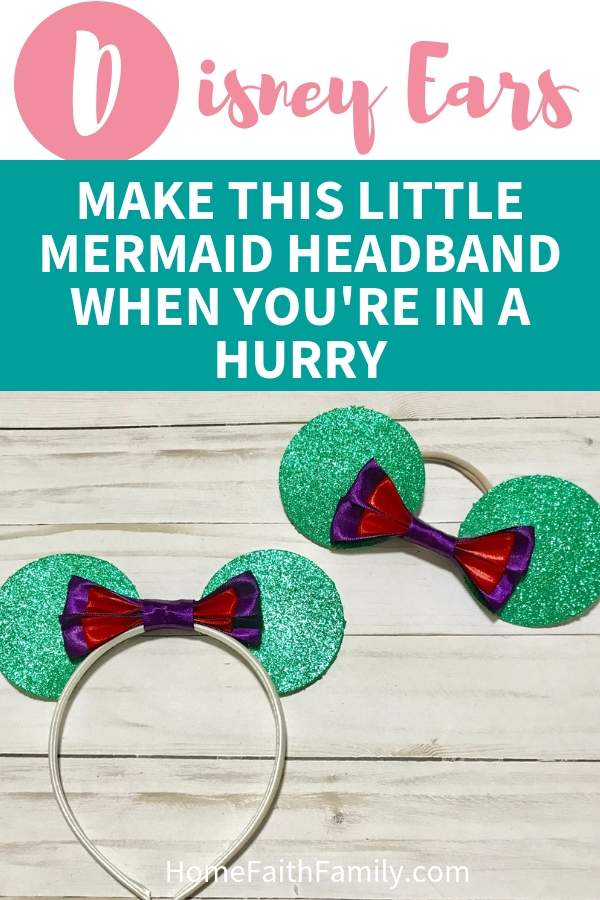
This Little Mermaid headband is perfect for your own Disney princess. DIY these cute ears in a matter of minutes with this easy to follow craft tutorial (perfect for beginners).
Princess Ariel always left me dumbfounded as a child.
I had no issues with the idea of mermaids because they’re everywhere in fairy tales and other children’s storybooks.
And I never blinked an eye at the fact that she and her sisters looked to be the same age, she had no brothers, and there’s no mention of Ariel’s mother anywhere in the movie.
What I didn’t understand was her HAIR!
How in the world could someone so tiny have hair so BIG!
I always worried that her bangs would catch a breeze and blow her away.
It wasn’t until I was older and realized the cartoon version was made in 1989 when big hair was the rage. Ariel was simply following the hair trends of the day and thank goodness no one was blown away (by their hair at least).
You don’t need big hair for this Princess Ariel headband for your favorite princess.
Today, I’m going to show you how to make this Little Mermaid Disney ears headband (with and without using the Cricut Maker).
This headband can be made for your princess no matter her age.
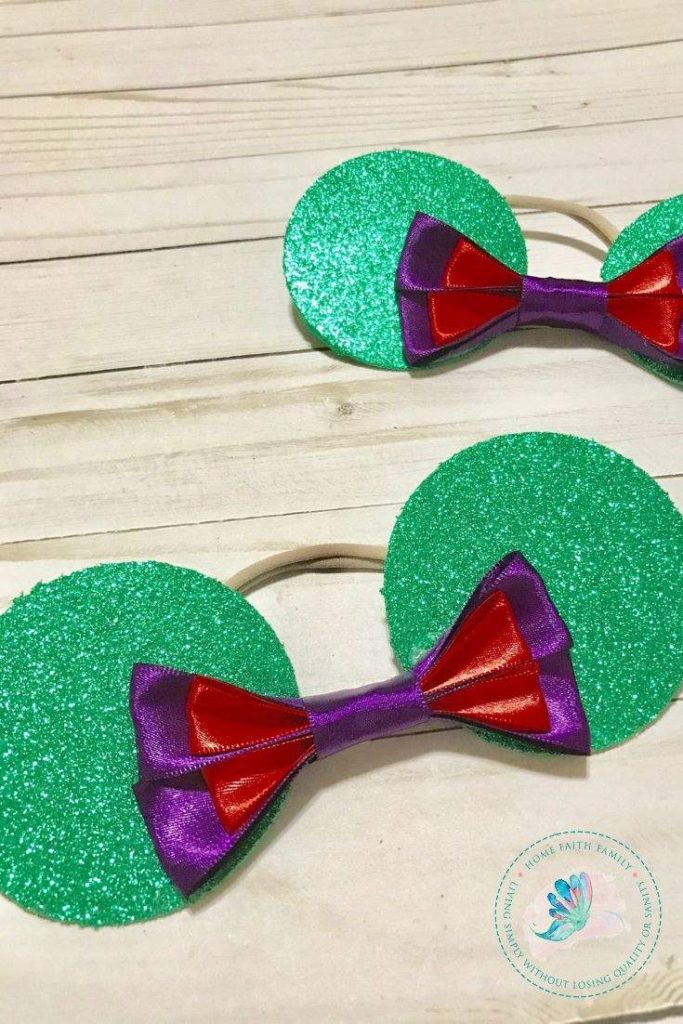
(The nylon headband is perfect for your toddlers and babies).
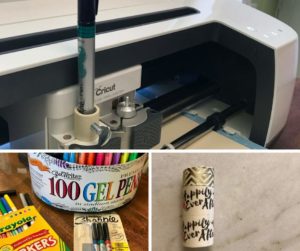
Want to learn more about the Cricut Maker? Check out this ultimate guide and how this machine will change the way you craft!
The instructions are simple and easy to follow (and involves glitter…lots and lots of glitters).
This post contains affiliate links at no cost to you. Thank you for your support. Disclosure Policy.
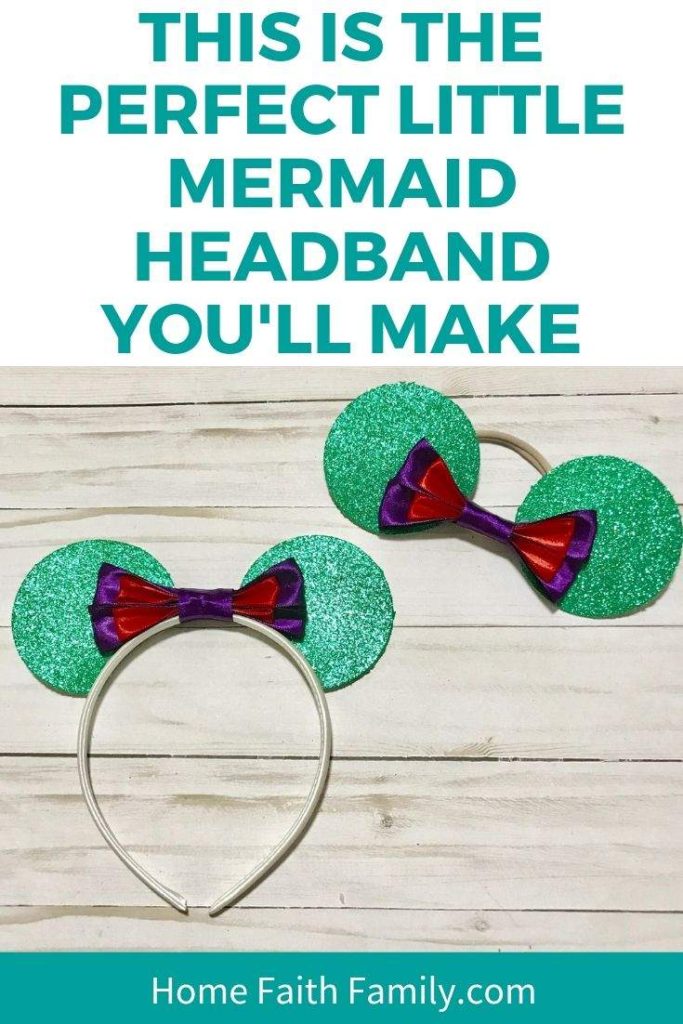
This Is The Perfect Little Mermaid Headband You'll Make
This Little Mermaid headband is perfect for your own Disney princess. DIY these cute ears in a matter of minutes with this easy to follow craft tutorial (perfect for beginners).
Materials
Tools
Instructions
How To Make Disney Ears Headband Without A Cricut:
- Find a cup/glass with at least a 3-inch circumference diameter (or the size you'd like the ears to be).
- Place your glitter craft foam upside down on your table (glitter side down).
- Trace two circles using a pencil around your cup.
- Cut out your circles and keep following along to make your beautiful Disney's Snow White headband.
How To Make Disney Ears Headband With A Cricut Maker
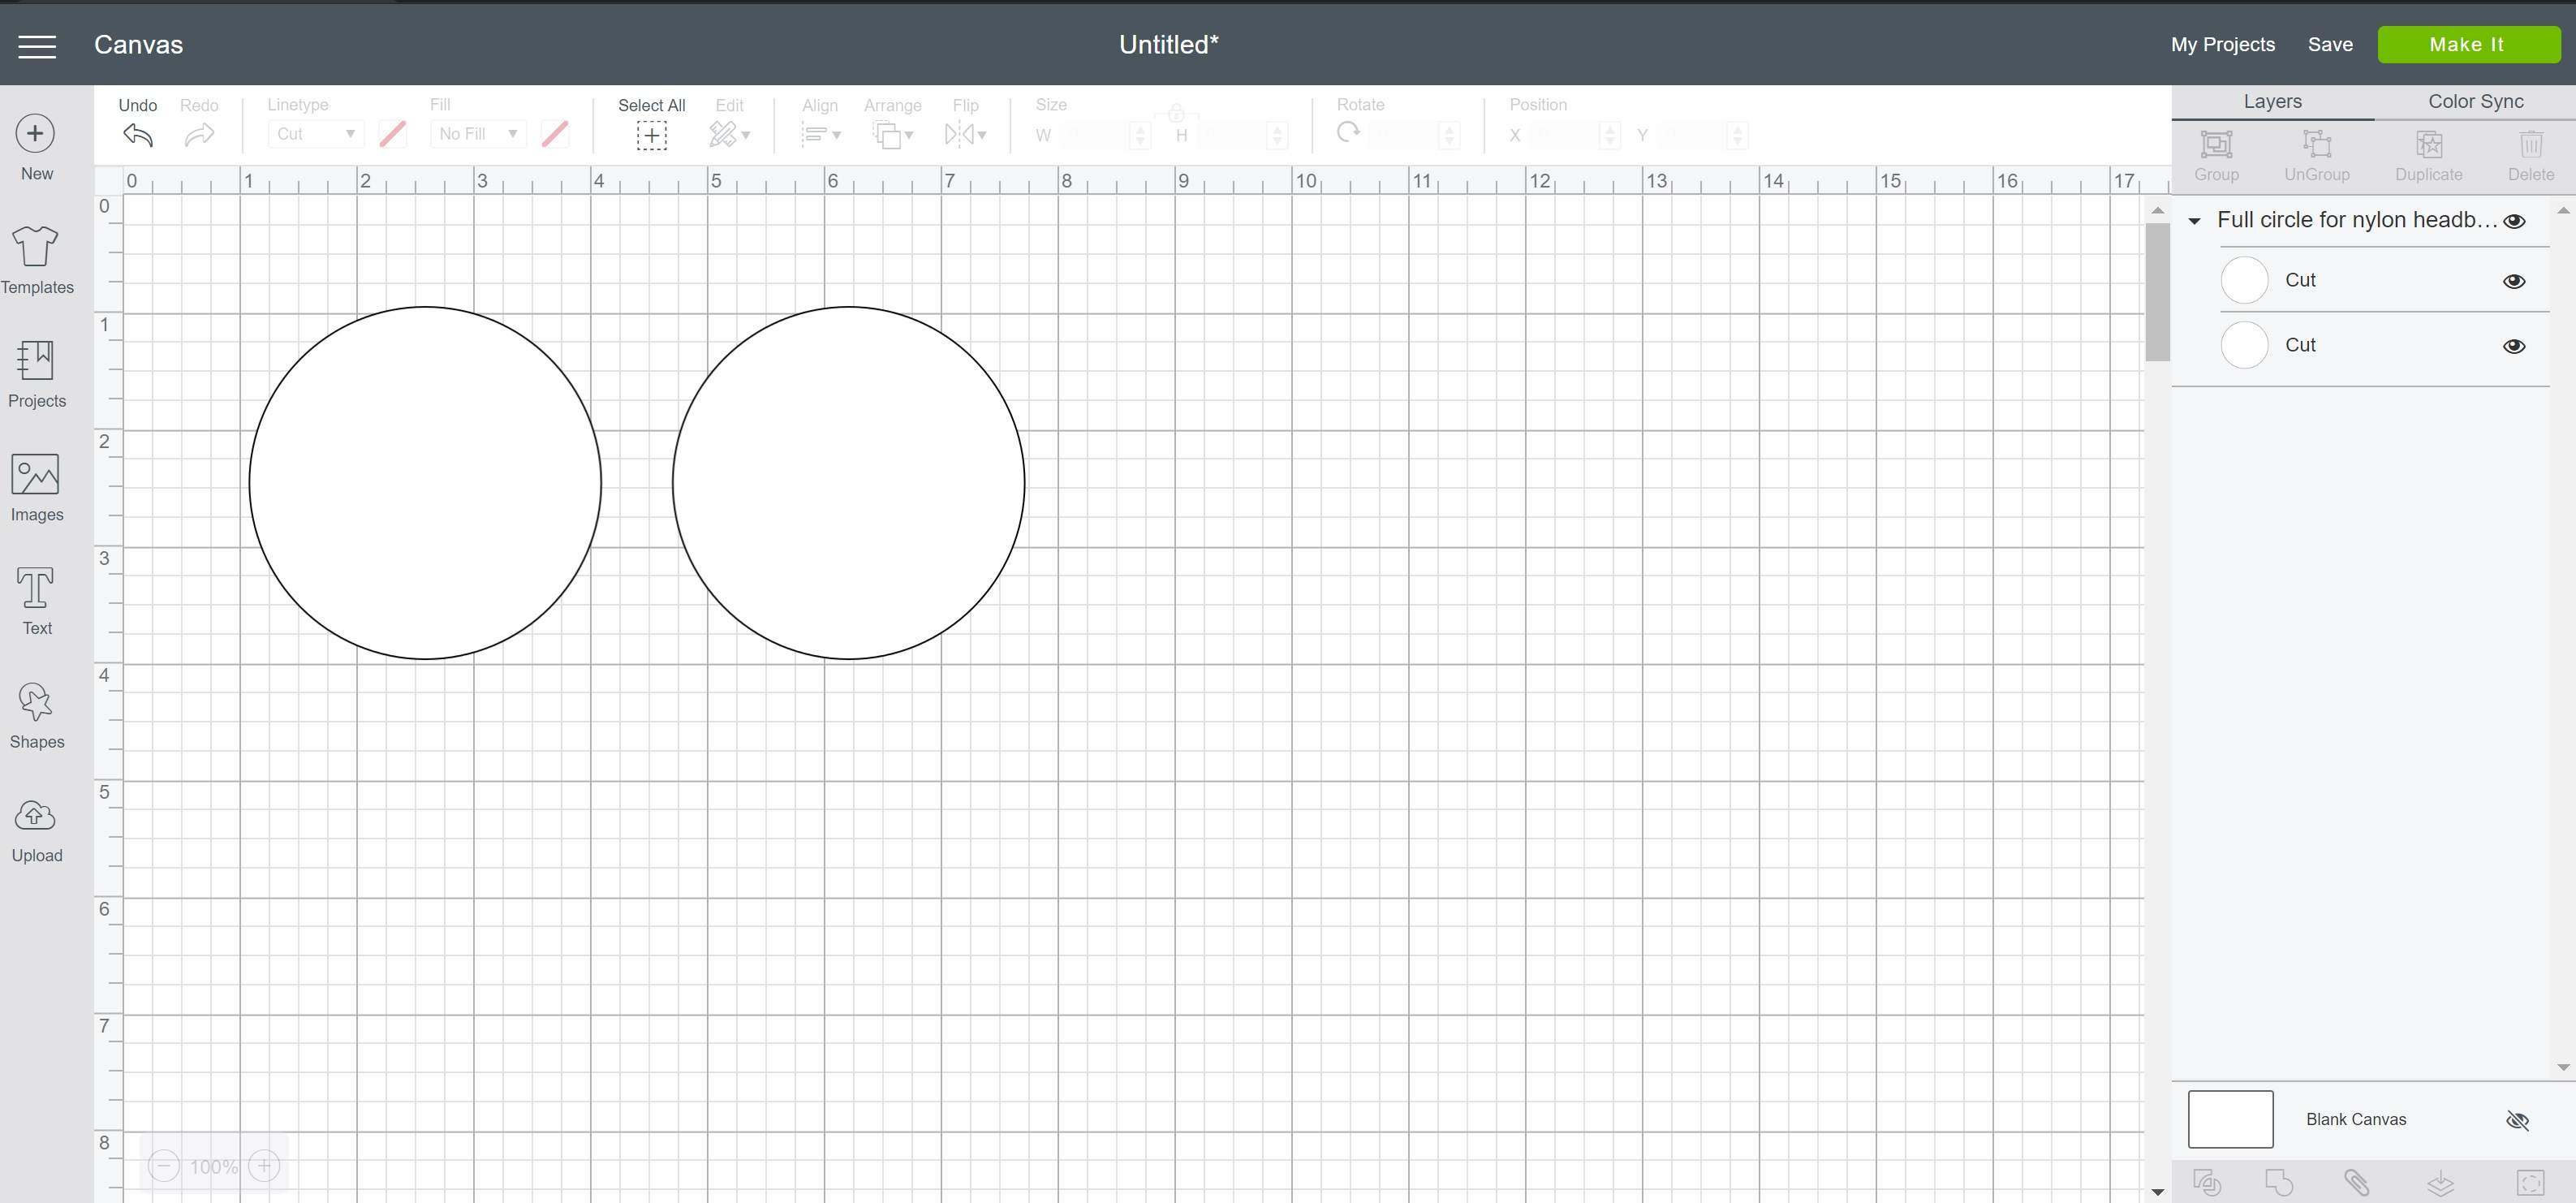
- Insert two 3-inch* circles into Cricut's Design Space. (*For this tutorial we are using ears 3-inches in diameter. Feel free to make bigger ears if you'd like).
- Set the ears to cut and click "Make It!"
- Select Your Material + Knife Blade
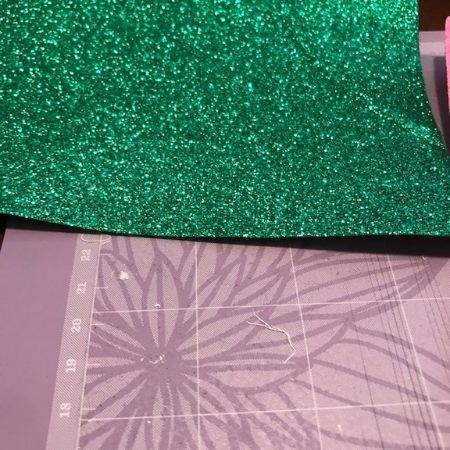
- The first thing you'll want to do is move the white glider rolls to the side. You won't want them getting caught on your glitter craft foam when this runs through your machine (trust me, it's not fun).
- For this project you will need to use the knife blade. I tried the fine point blade and it was barely scratching the surface to the craft foam.
- Once you're ready to cut out your ears, you will need to change your materials in Design Space.
- Select "Browse All Materials", "Craft Foam", and change your tool to "knife blade." (For some reason, when you select "glitter craft foam" it doesn't give you the option to use the knife blade - go figure, right?)
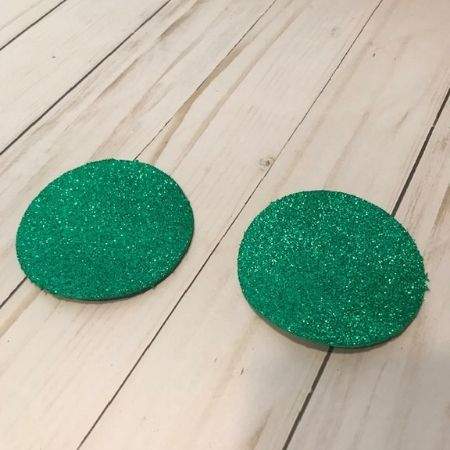
- Cut your circles and begin working on your ribbons.
How To Make The Double Ribbons
- I personally love this tutorial for making my bows (it's so simple to follow along, especially if you've never made bows before). You'll want to use this tutorial for the basic structure of your bows.
- You will need to glue the red ribbon on top of the purple ribbon before "closing" the two together.
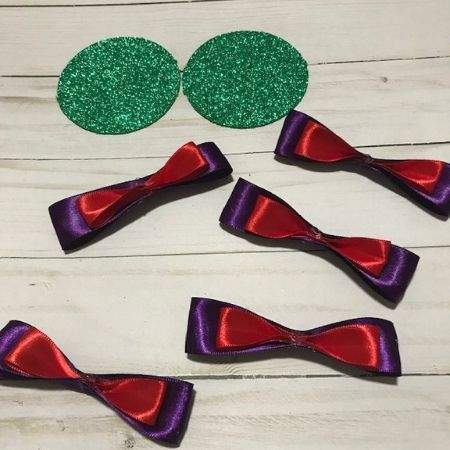
First, cut out 2-pieces of red and purple ribbon.
The larger back ribbon (in our case, purple) will be 8-inches long.
The smaller front ribbon (red) will need to be 6-inches long.
Don't forget to cut out your 2-inch piece of purple ribbon.
Fold the ribbon in half and bring both ends to the middle. Superglue together and do the same until all of your ribbons are secure.
- Place the red ribbon on top of the purple ribbon and secure (glue) in the center. Press together for at least 5 seconds (or until the glue starts to secure the ribbons together).
- Repeat until your ribbons are made.
- Take two ribbons and place a dob of glue on the top of one. Secure together and press down until the glue secures both ribbons together.
- Wrap your 2-inch purple ribbon around both bows and secure in the back.
If You're Making A Sturdier Disney Sleeping Beauty Headband, Don't Forget To Do This!
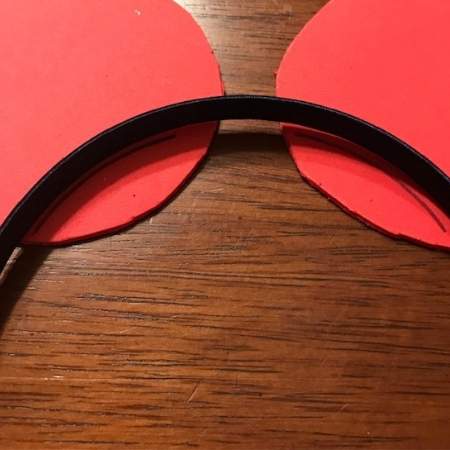
- Take your glitter craft foam circles and lay them glitter side face down on the table.
- Put the headbands over the circles and move the headband to where you'd like your ears to lay.
- Trace (with a pencil or pen) and cut the bottom portion of the circle off for an easier gluing experience.
Sturdier Headband or Nylon Headband
- No matter what type of headband you're using, you will want to glue the bow on first.
- Then glue and place the ears accordingly.
- I like to glue the ribbon to the ears for added support (and so the ears don't "flop" around and can maintain their structural integrity).
The vibrant green is one of my favorite parts of this headband. The colors are as bold as Princess Ariel.
If you’re looking for more cute Disney-inspired ear headbands, you can make Snow White’s headband HERE.
Be sure to share this easy tutorial with your favorite Disney-fan friend.


Micah Klug is a homeschooling mother to five children and an author. She teaches time-tested solutions to help parents remember what matters most in life, including strengthening their home, faith, and family relationships. To learn how a child who grew up in an authoritarian home is now creating an environment of peace and joy in her own home visit this page. If you want to contact Micah, send her an email here or email [email protected].