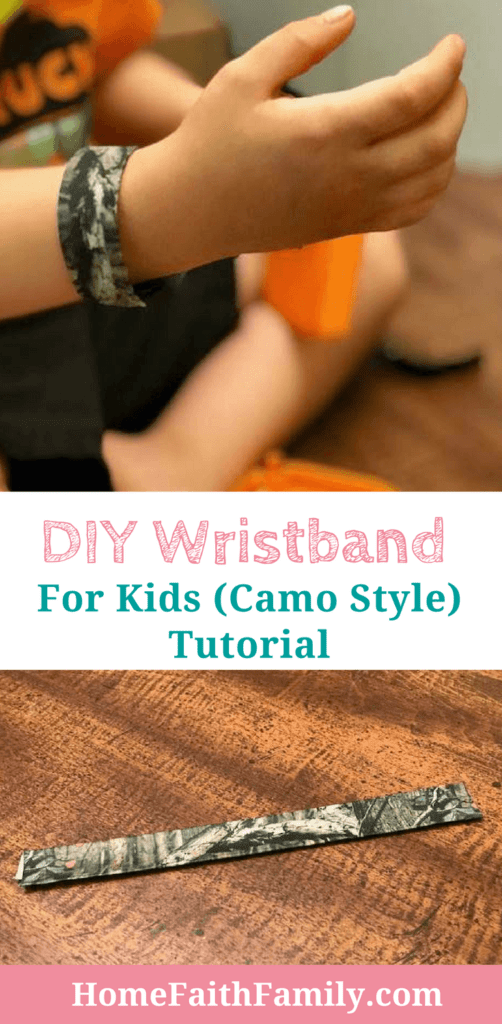
Are you looking for a fun and easy kids craft project? This DIY wristband for kids can easily be made with items already in your home. Customize the style with your child’s favorite duct tape.
Growing up, the most common words spoken in our home were, “And who’s going to pay for that?!” and “Do you think I’m made of money!?” (The second one was often said by my Dad with his stellar English accent).
Our family had the basics for our needs, but because of these younger years at home, I learned the principals of low-to-no spending. (Yay for thrift stores and saving money, especially on school clothes), using what you have available, and being creative with your resources.
My husband grew up the same way.
So when he found an old tape measure in his toolbox (because heaven knows a man can’t have too many of them), he thought of a really fun and easy DIY wristband tutorial that even kids can make.
This post contains affiliate links at no cost to you. Thank you for your support. If you have any questions, please read my disclosure policy here.
Our children (ages 2 and 4 at the time) made their wristbands under our supervision and they did a really great job. There are a few parts where parents will need to help with younger kids, especially where scissors are involved.
For this tutorial, our family used a camo style duct tape for the wristbands. Camo is huge in our house, but if you’d rather do pink polka dots, floral prints, or your kids favorite cartoon characters, then go for it!
Let your creativity run crazy with the possible designs.
DIY Wristband for Kids (Camo Style)
Supplies Needed:
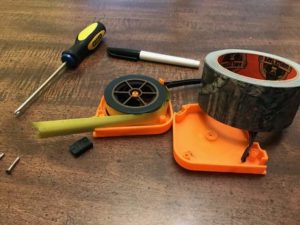
- Some really fun duct tape (these styles would be really cute for summertime with their happy and bright colors).
- Scissors
- An old (or new) stiff measuring tape
- Permanent marker pen
Instructions:
Take apart an old measuring tape and set aside the plastic cover and screws.
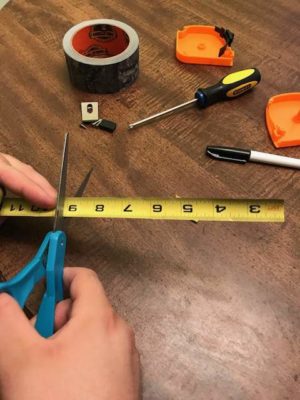
Cut 7 – 9-inches of the measuring tape. The length you’ll cut will depend on your child’s wrist size and age. With our children being 2 and 4 (at the time of the post) we wanted the wristbands to cover their wrist 1.5 – 2 times for a snug fit.
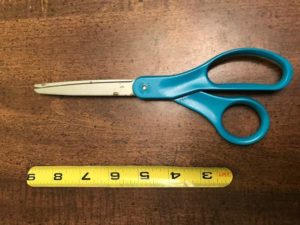
Round both of the corners of the measuring tape (parents may need to help with this part) to remove sharp edges.
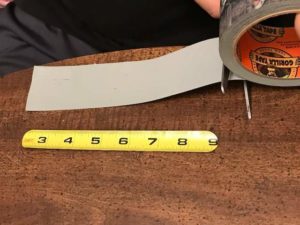
Measure out your duct tape 1-inch longer than your measuring tape.
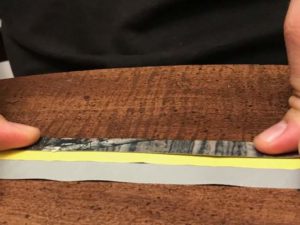
Place the measuring tape on the sticky side of the duct tape and carefully tuck in the ends of the tape. Then wrap the remainder, securing the measuring tape inside the duct tape for form a cover.
If you need to add more of a “tight coil” to the measuring tape, then wrap the band around a pen or screwdriver.
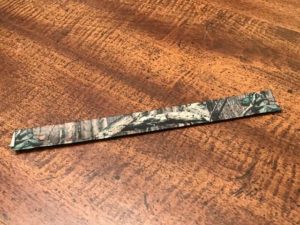
Place on your child’s wrist and enjoy!
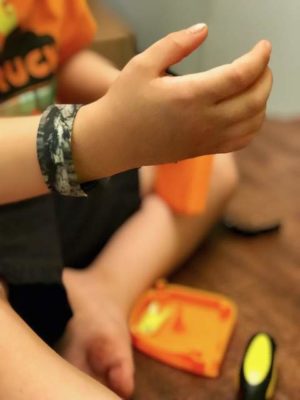
Let us know in the comments below how you plan on decorating your wristband. Is there a favorite style of duct tape you love?

Micah Klug is a wife, homeschooling mother to five children, and author. She teaches time-tested solutions to help parents remember what matters most in life, including strengthening their home, faith, and family relationships. To learn how a child who grew up in an authoritarian home is now creating an environment of peace and joy in her own home visit this page. If you want to contact Micah, send her an email here or email [email protected].




These wristbands look fantastic! I’m going to have to do this for an art project with my students?
Thank you so much, Lynn! Let me know how they go. Have a happy day, friend!
what a great and fun idea, love the tape measure trick.
Thank you so much, Angie.
My grandson loves all things camo, and my granddaughter all things pink. This is a fun craft to do with the kids. Thanks for sharing on Sunday’s Best.
My little ones are the same way with their pink and camo. I hope your grandchildren enjoy making these wristbands. Have a great day, Rhonda.
What a great idea! We have boys too so we have *several* tape measures that have been wrecked, lol. What a great way to repurpose them! Thanks for sharing it with us at the Homestead Blog Hop.
Thank you, Ann! I hope you and your boys have a blast making these. Have a happy day.